Translucent Tuesday Punch
December 31, 2013
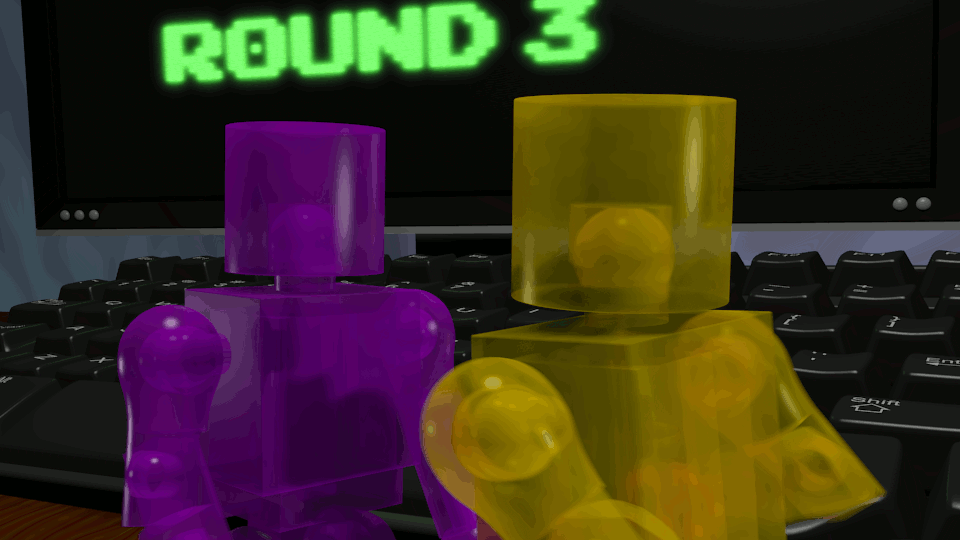
You can see all the the entries here.
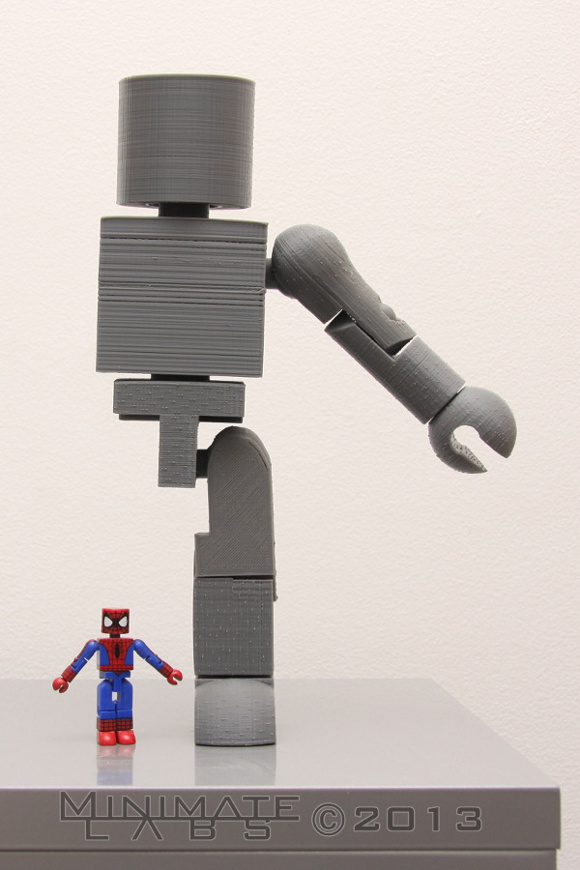
LabTable: Printed MinimateDecember 19, 2013
Using the models I created for animation I was able to produce a scaled-up version of the basic Minimate.
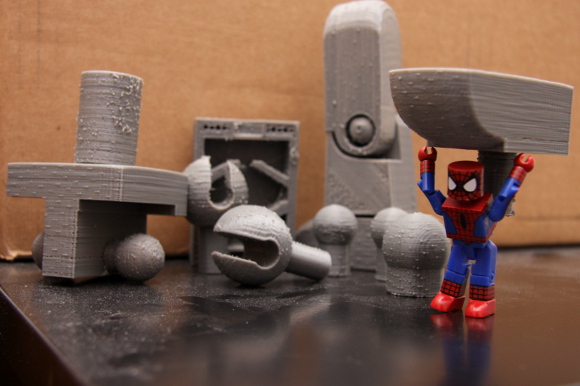
Like anything new there are bound to be problems. I printed many versions of the various pieces to get the fit and feel just right. I've also had a couple controller chips die so I end up waiting for replacement parts.
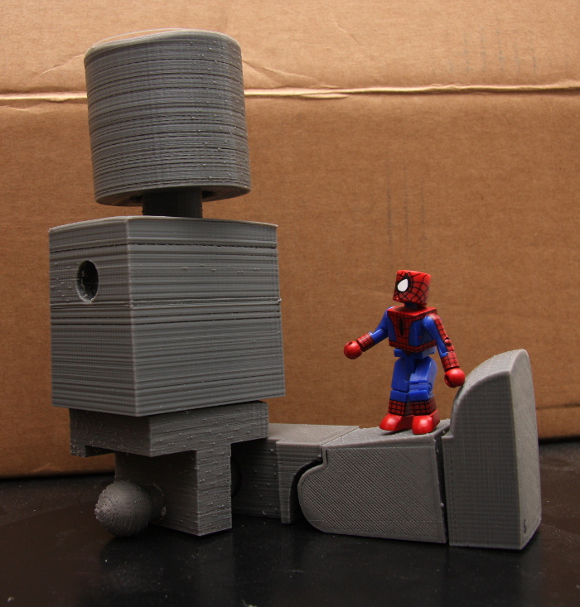
Print lines are very obvious in these early prints. It seemed whenever I would print a torso, about halfway through the printer would get off track just a bit. It would either skip layers or go over the edge a bit. It's gotten better, but still not ideal.
Also you can see the little blobs that indicated the starting point of each layer. These have been minimized quite a bit with recent prints. But I'm still sanding and filling to get the finish I want.
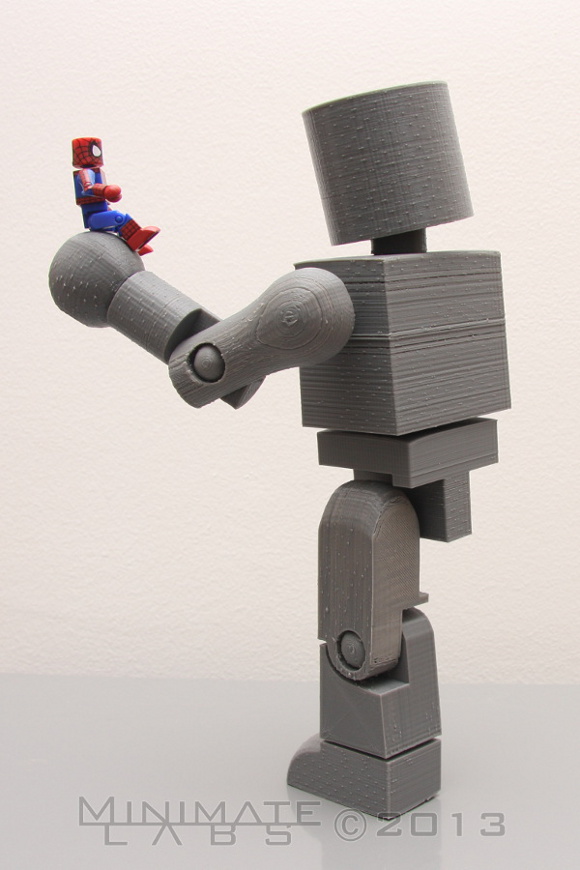 I've also purchased the Ditto Upgrade Kit that should improve prints as well. Unfortunately it uses a thinner plastic filament so I have to use up my stock of plastic before upgrading. I've got about three spools to go.
This is still an ongoing project. I don't yet have a fully assembled jumbo Minimate. When I do, it will be posted here.
2003 Blanks: RedFebruary 28, 2012
2003 Blanks: YellowFebruary 20, 2012
2003 Blanks: GreenJanuary 24, 2012
Here's the first image, titled "Green".
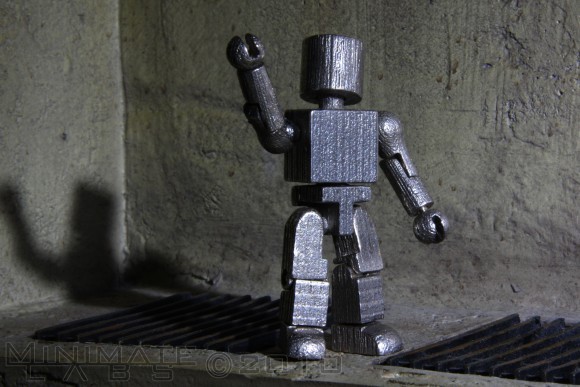
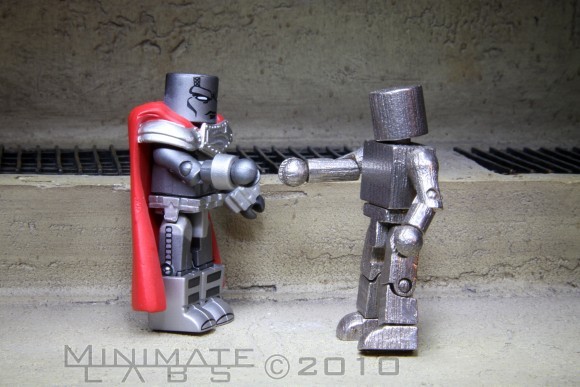
Metal MinimateOctober 3, 2010
Read More...
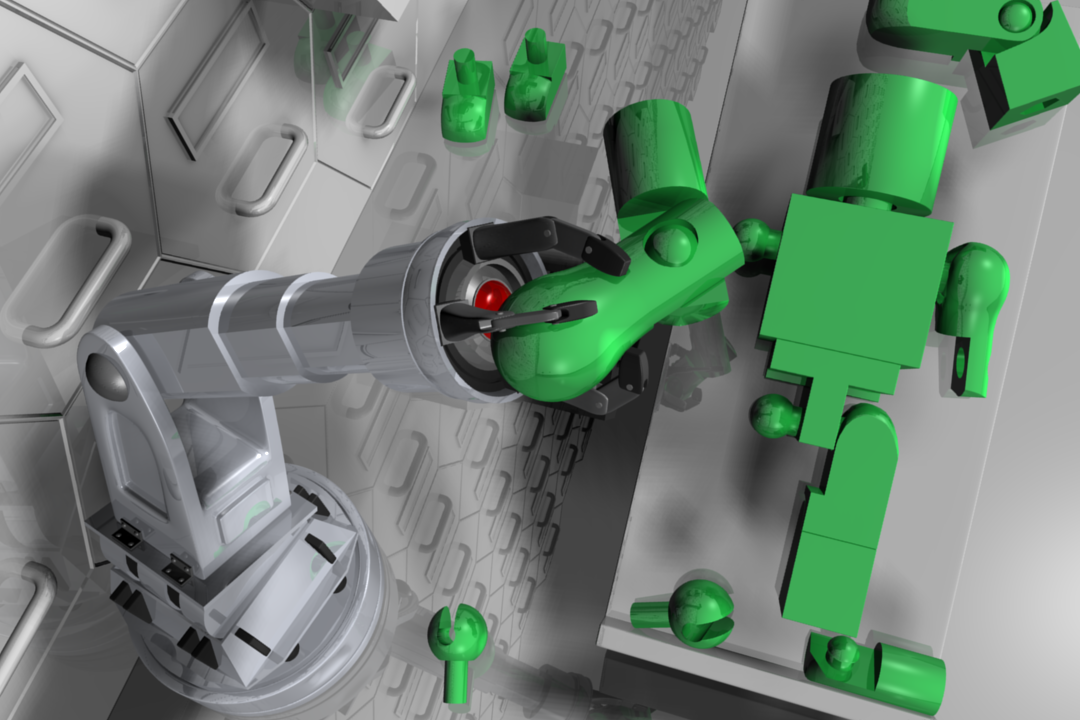
Robot Assembly RenderJune 13, 2010
It's not the end of the world, I think I just made some mistakes early in the process that weren't apparent until now. The bad part is that I don't know what those were. So instead of starting over and repeating my mistakes, I'm going to scale back and accomplish smaller projects like a creating a Wolverine with functioning claws, Cyclops with an optic blast, Banner transforming into Hulk. Try to learn something from each little success.
I'm not scrapping the large animation project either. I'm just postponing it until I have more experience. Here's one of the many test renders I made for it.