


 500% Minimate Completion
June 12, 2015
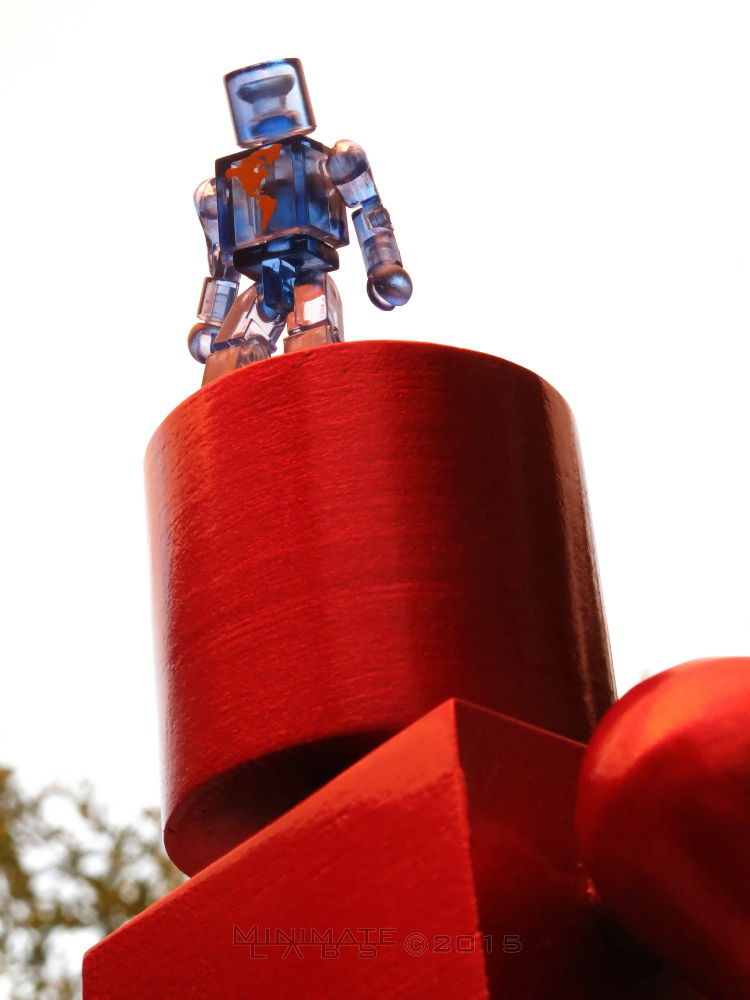
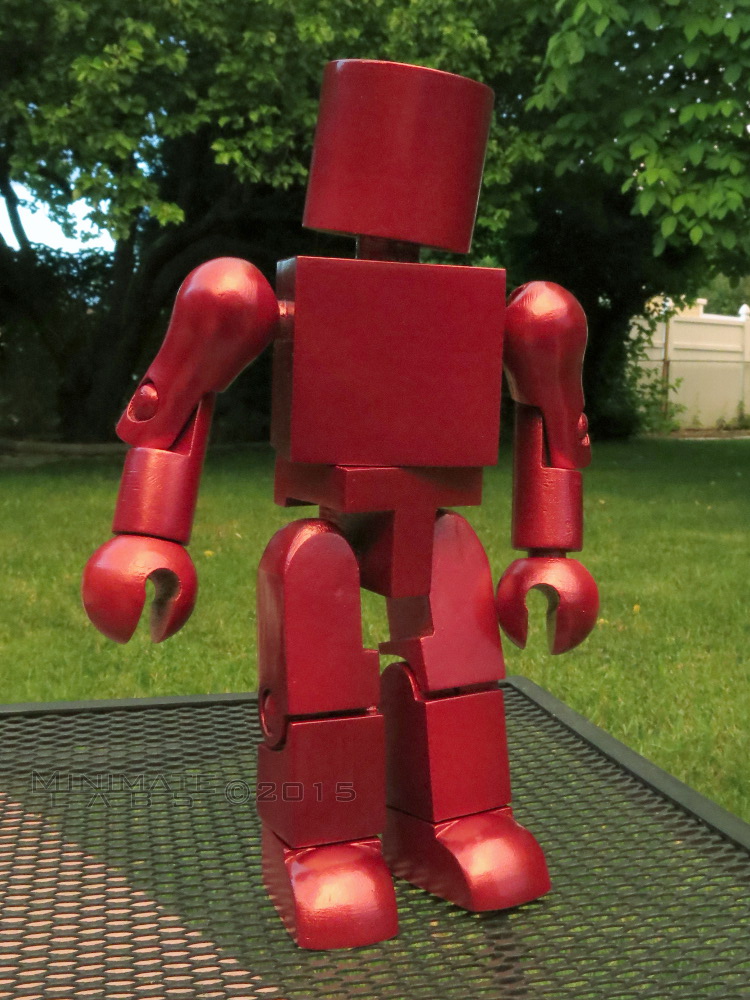
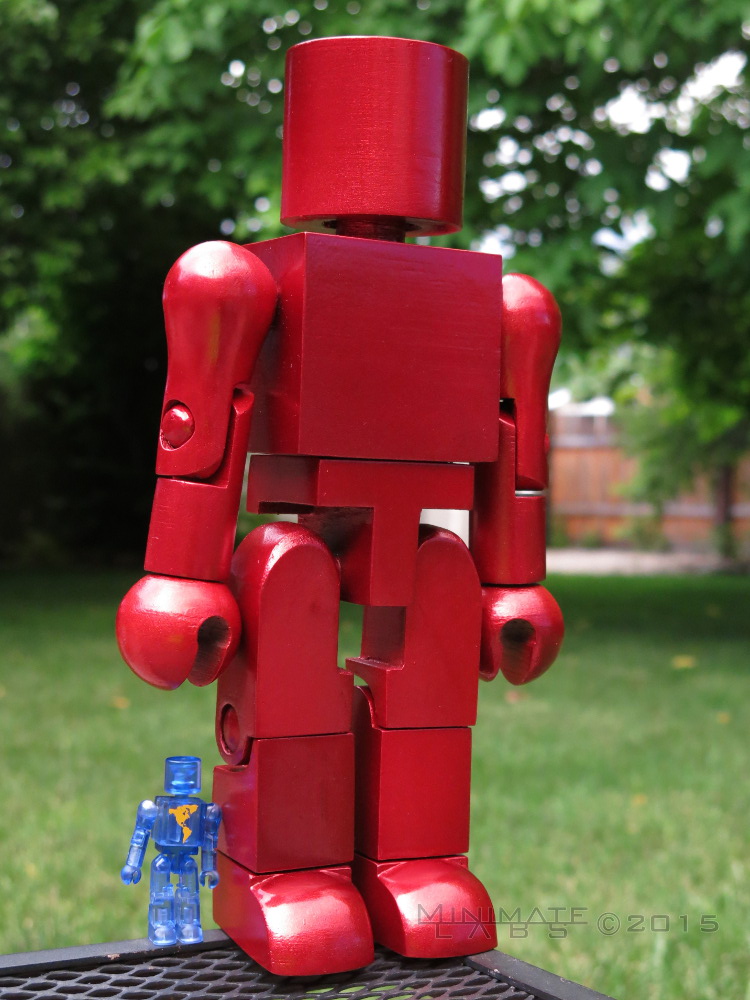
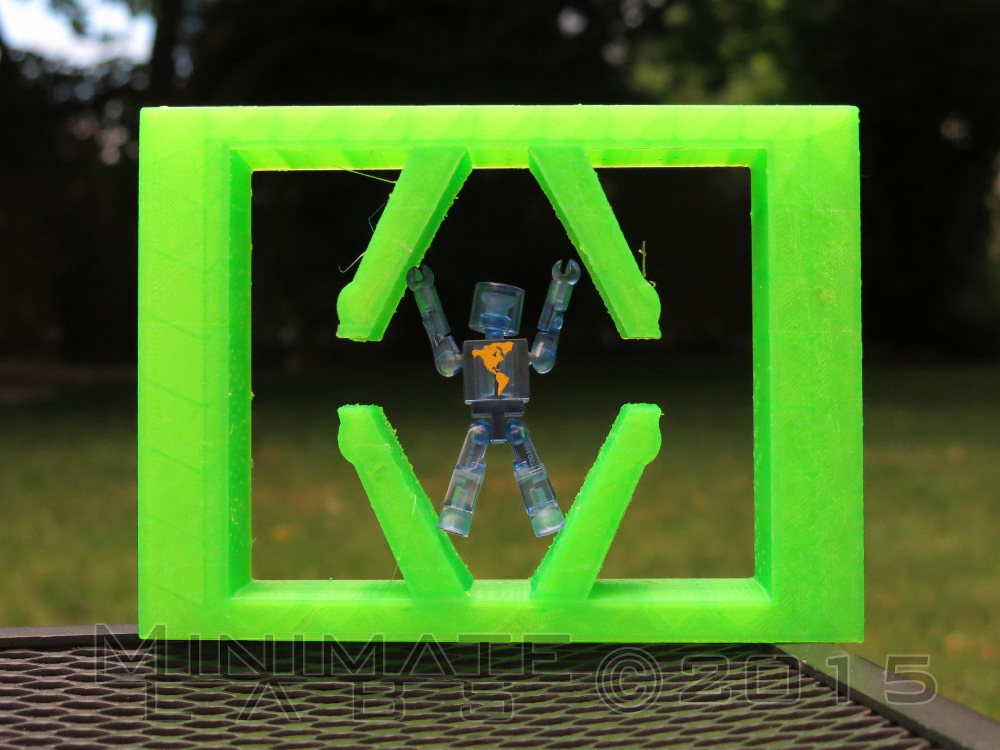
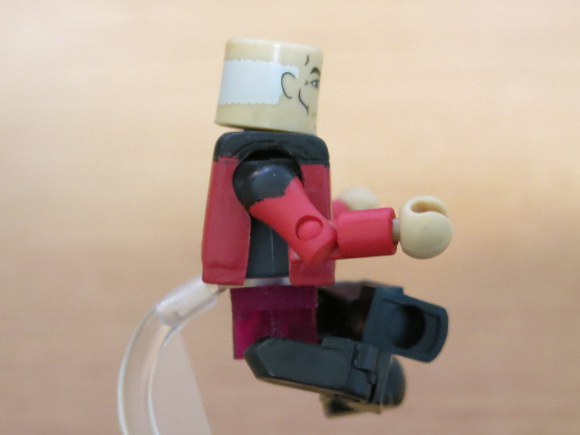
The light was changing on me while I was taking photos, so the color balance is off a bit from picture to picture. The closest color match is probably the side-by-side size comparison shot below.
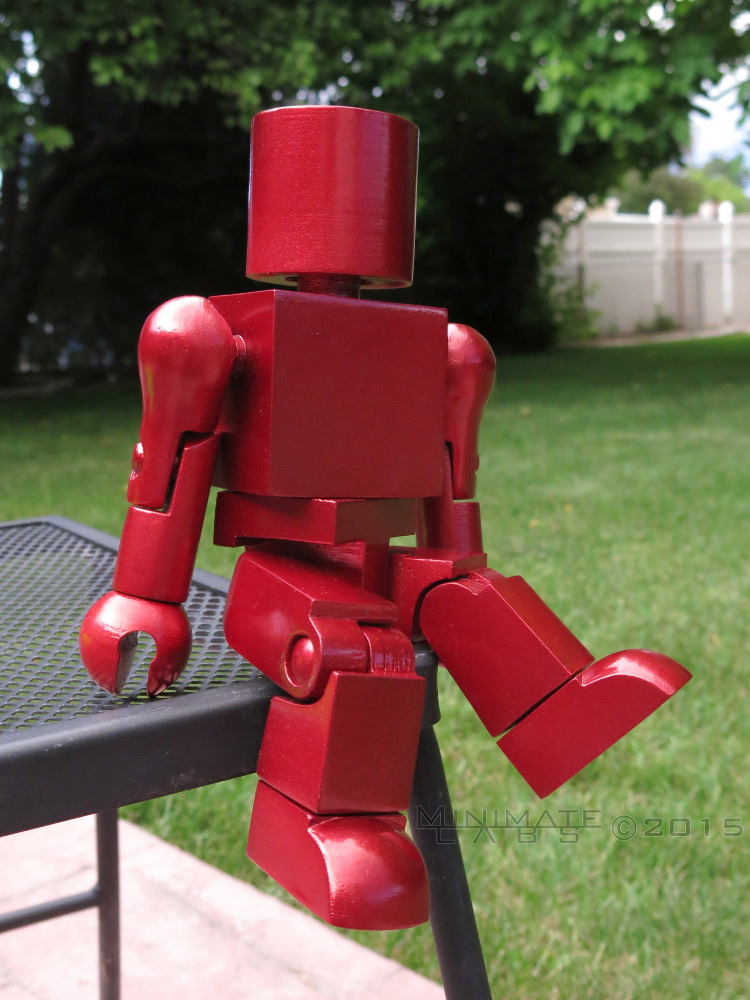
As you can see it is still fully poseable. Though the paint on the ball joints is wearing away and it doesn't look great around the joints.
 LabTable: Print Surface Prep
September 25, 2014
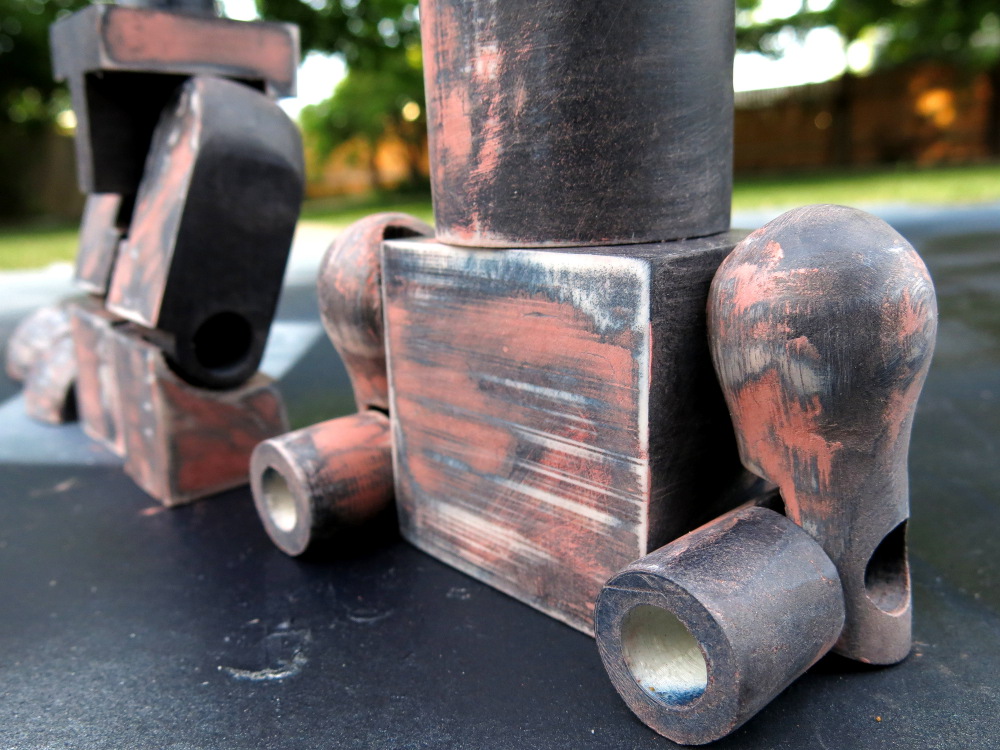
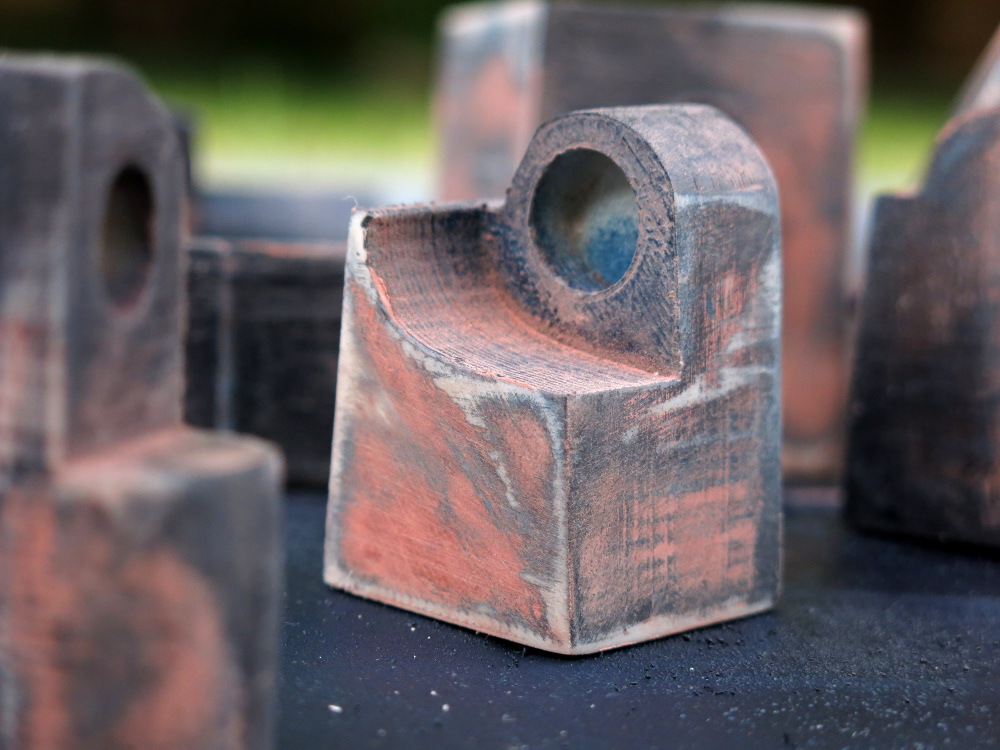
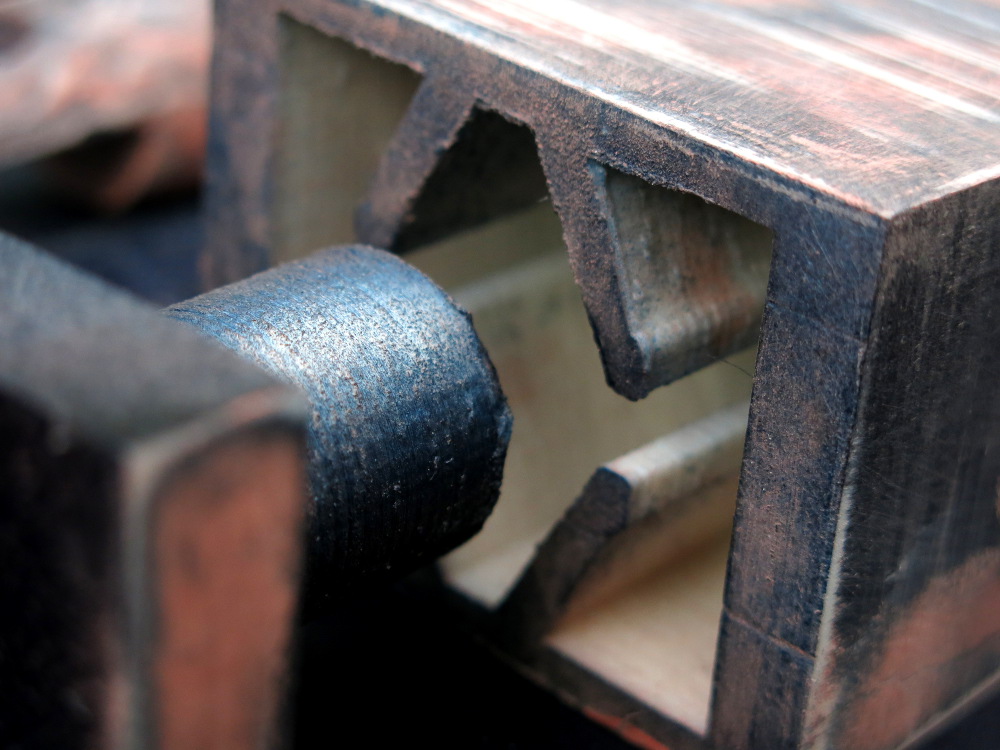
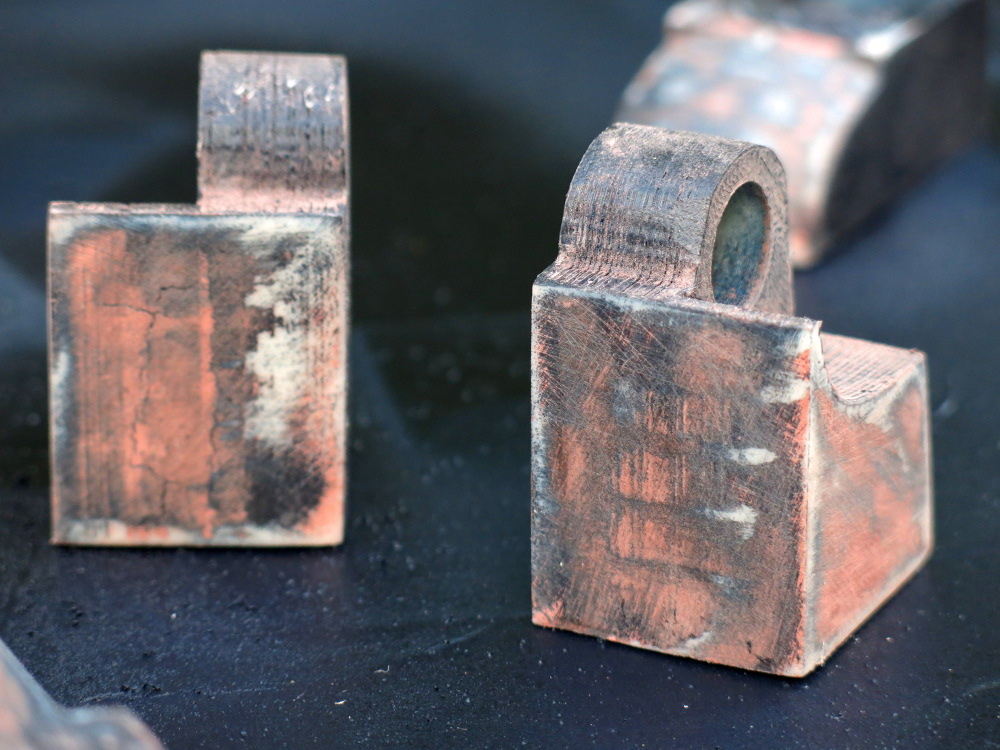
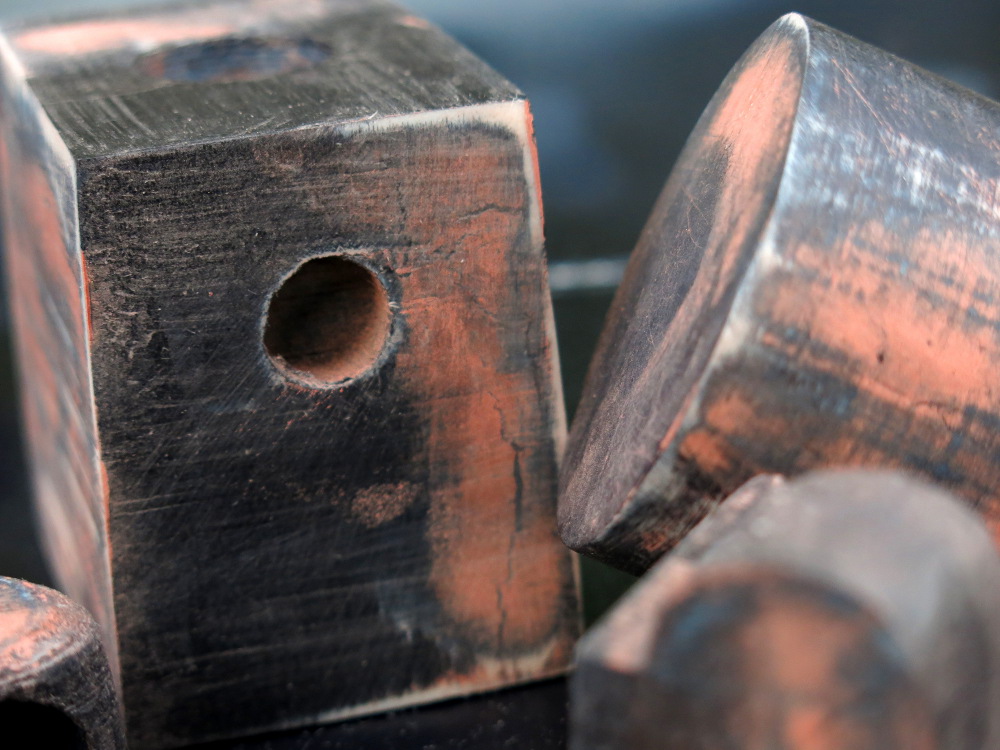
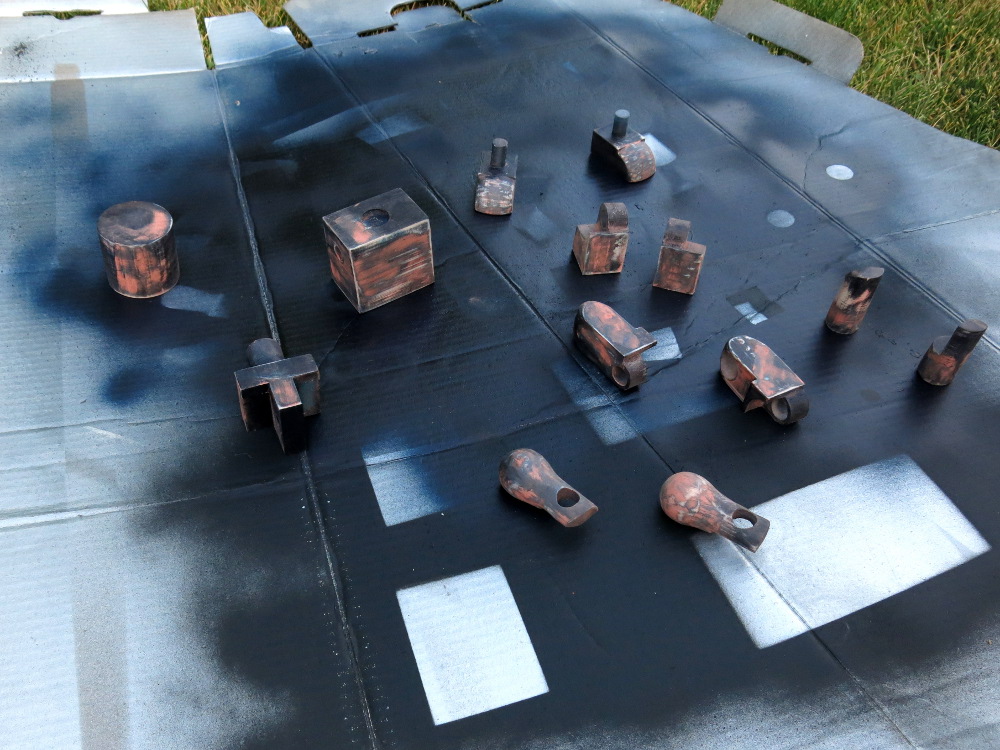
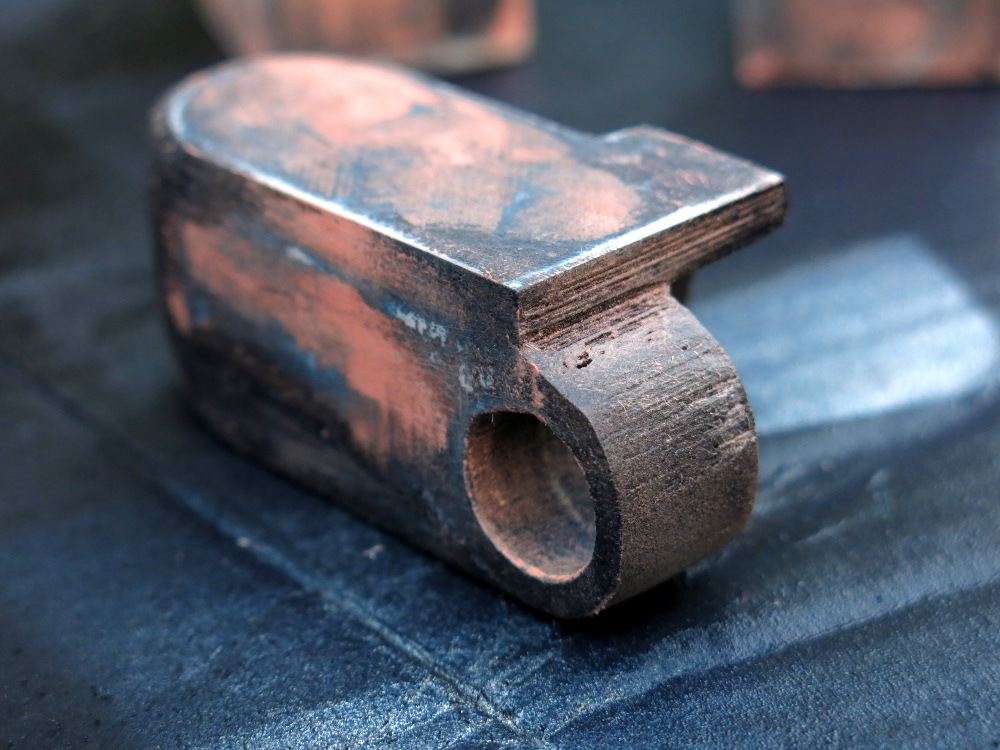
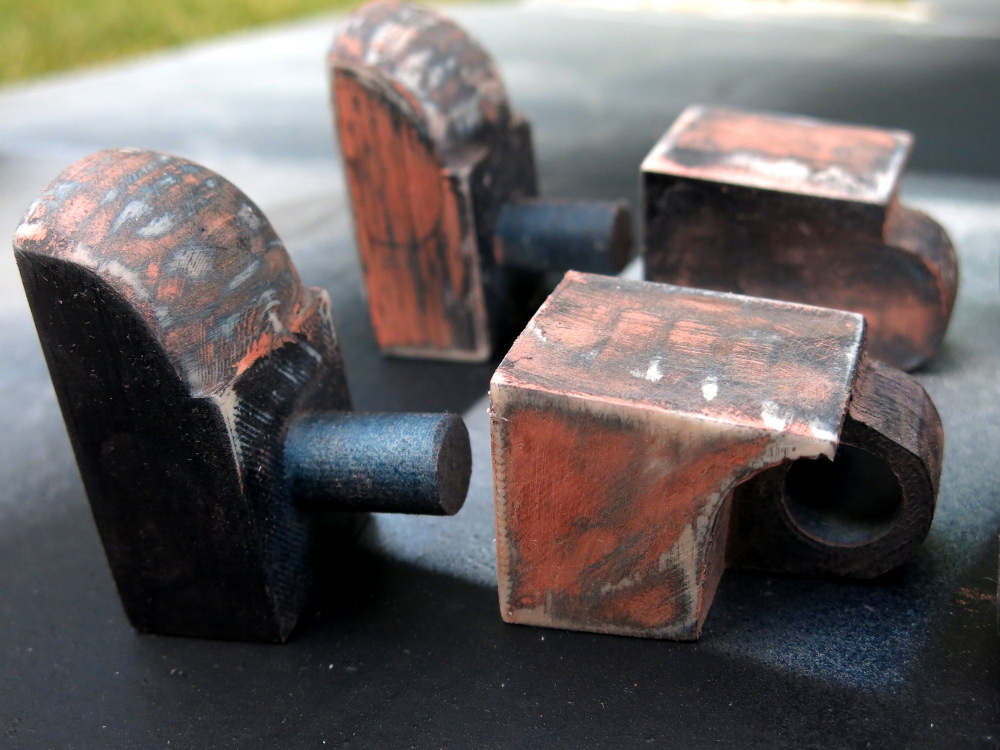
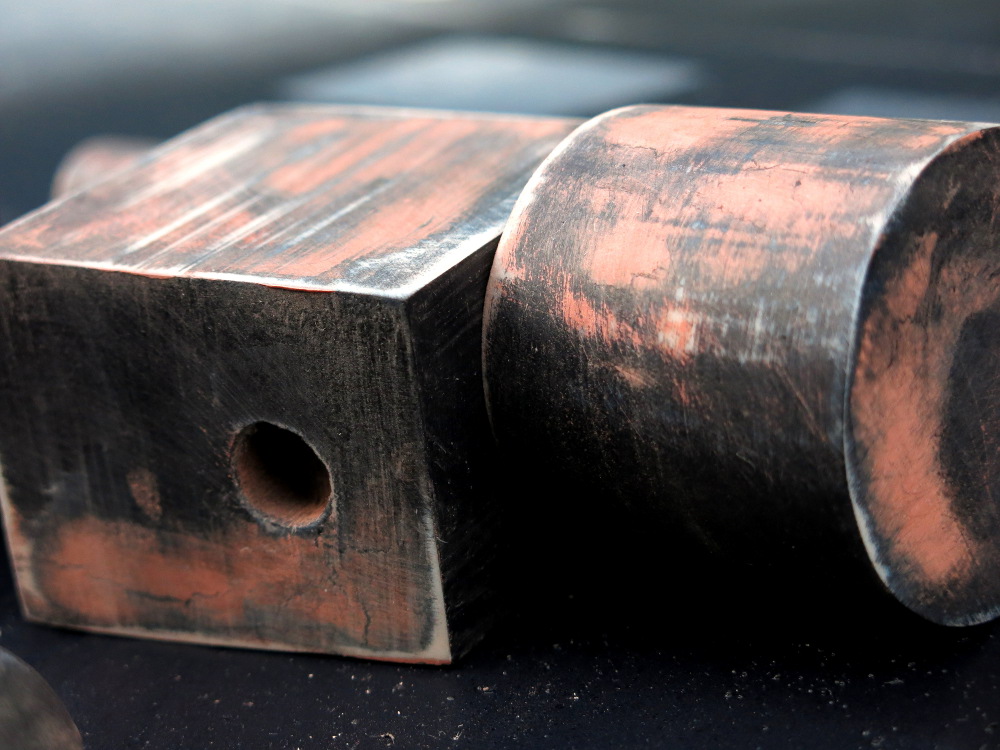

Look at all that texture.
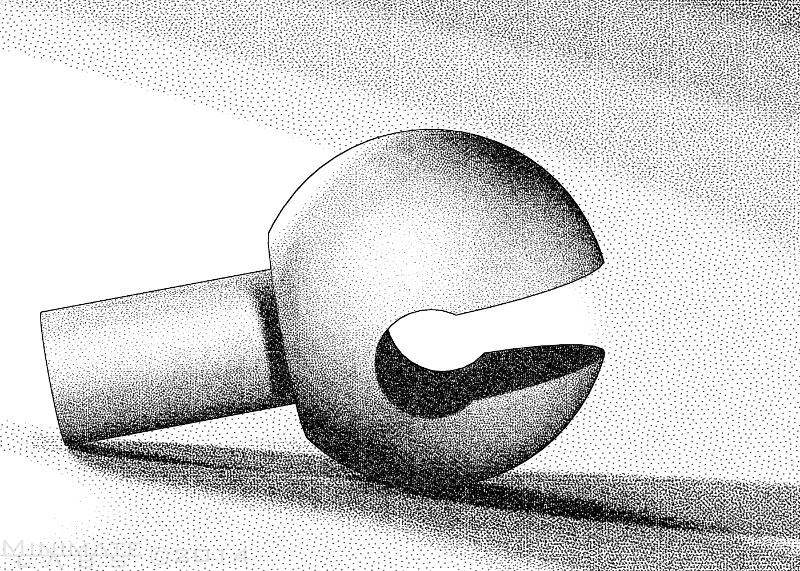
Lotus HipSeptember 23, 2014
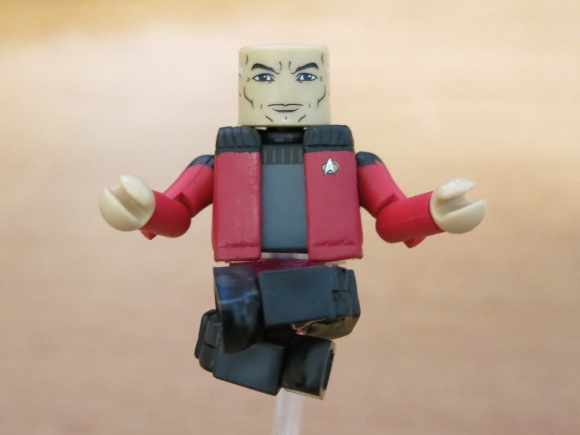
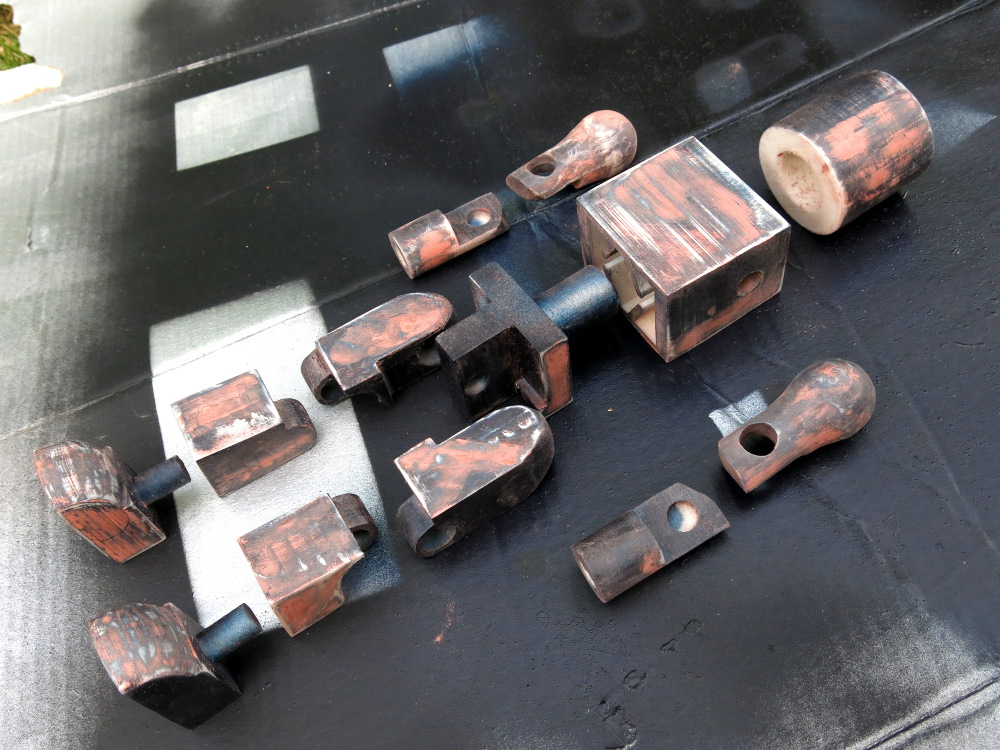
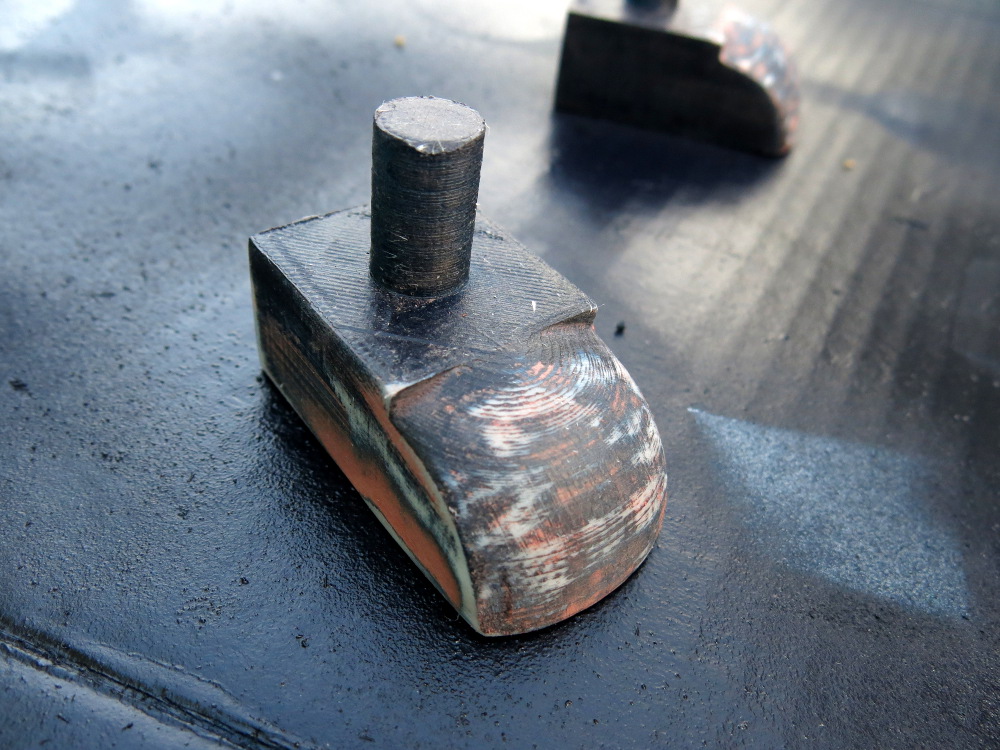
One request is for a new hip piece to allow a Minimate to sit in a crossed-leg or lotus position. (Yes, I know that's not Strange, but Picard was closer at hand.) Since I have a 3D Printer I took it upon myself to see what was possible.
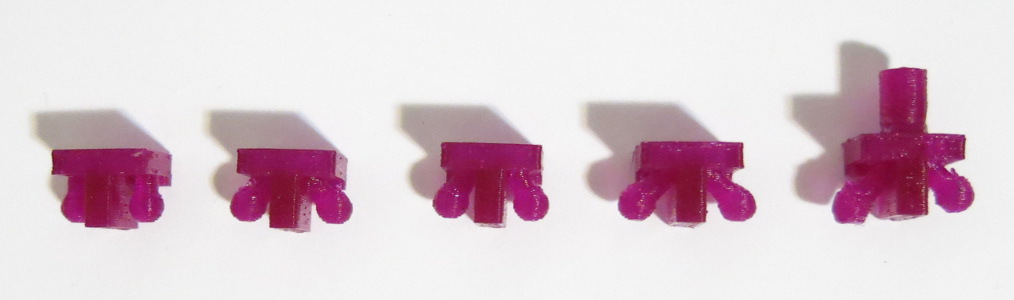
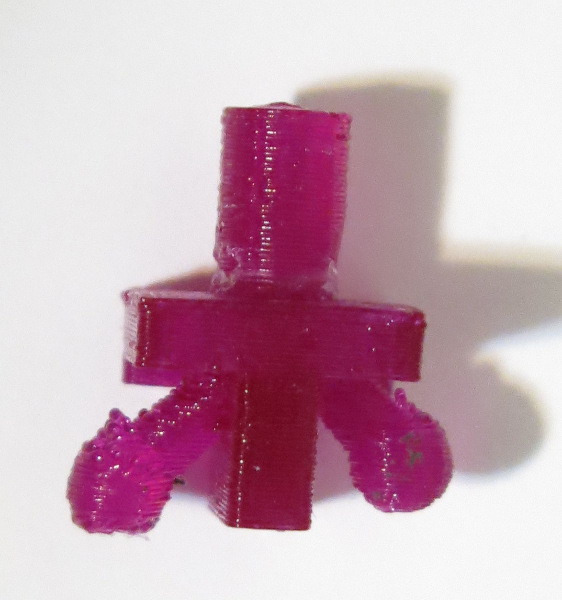
If anyone is interested in ordering some of these (with higher quality of course), let me know and I'll put it up on shapeways.
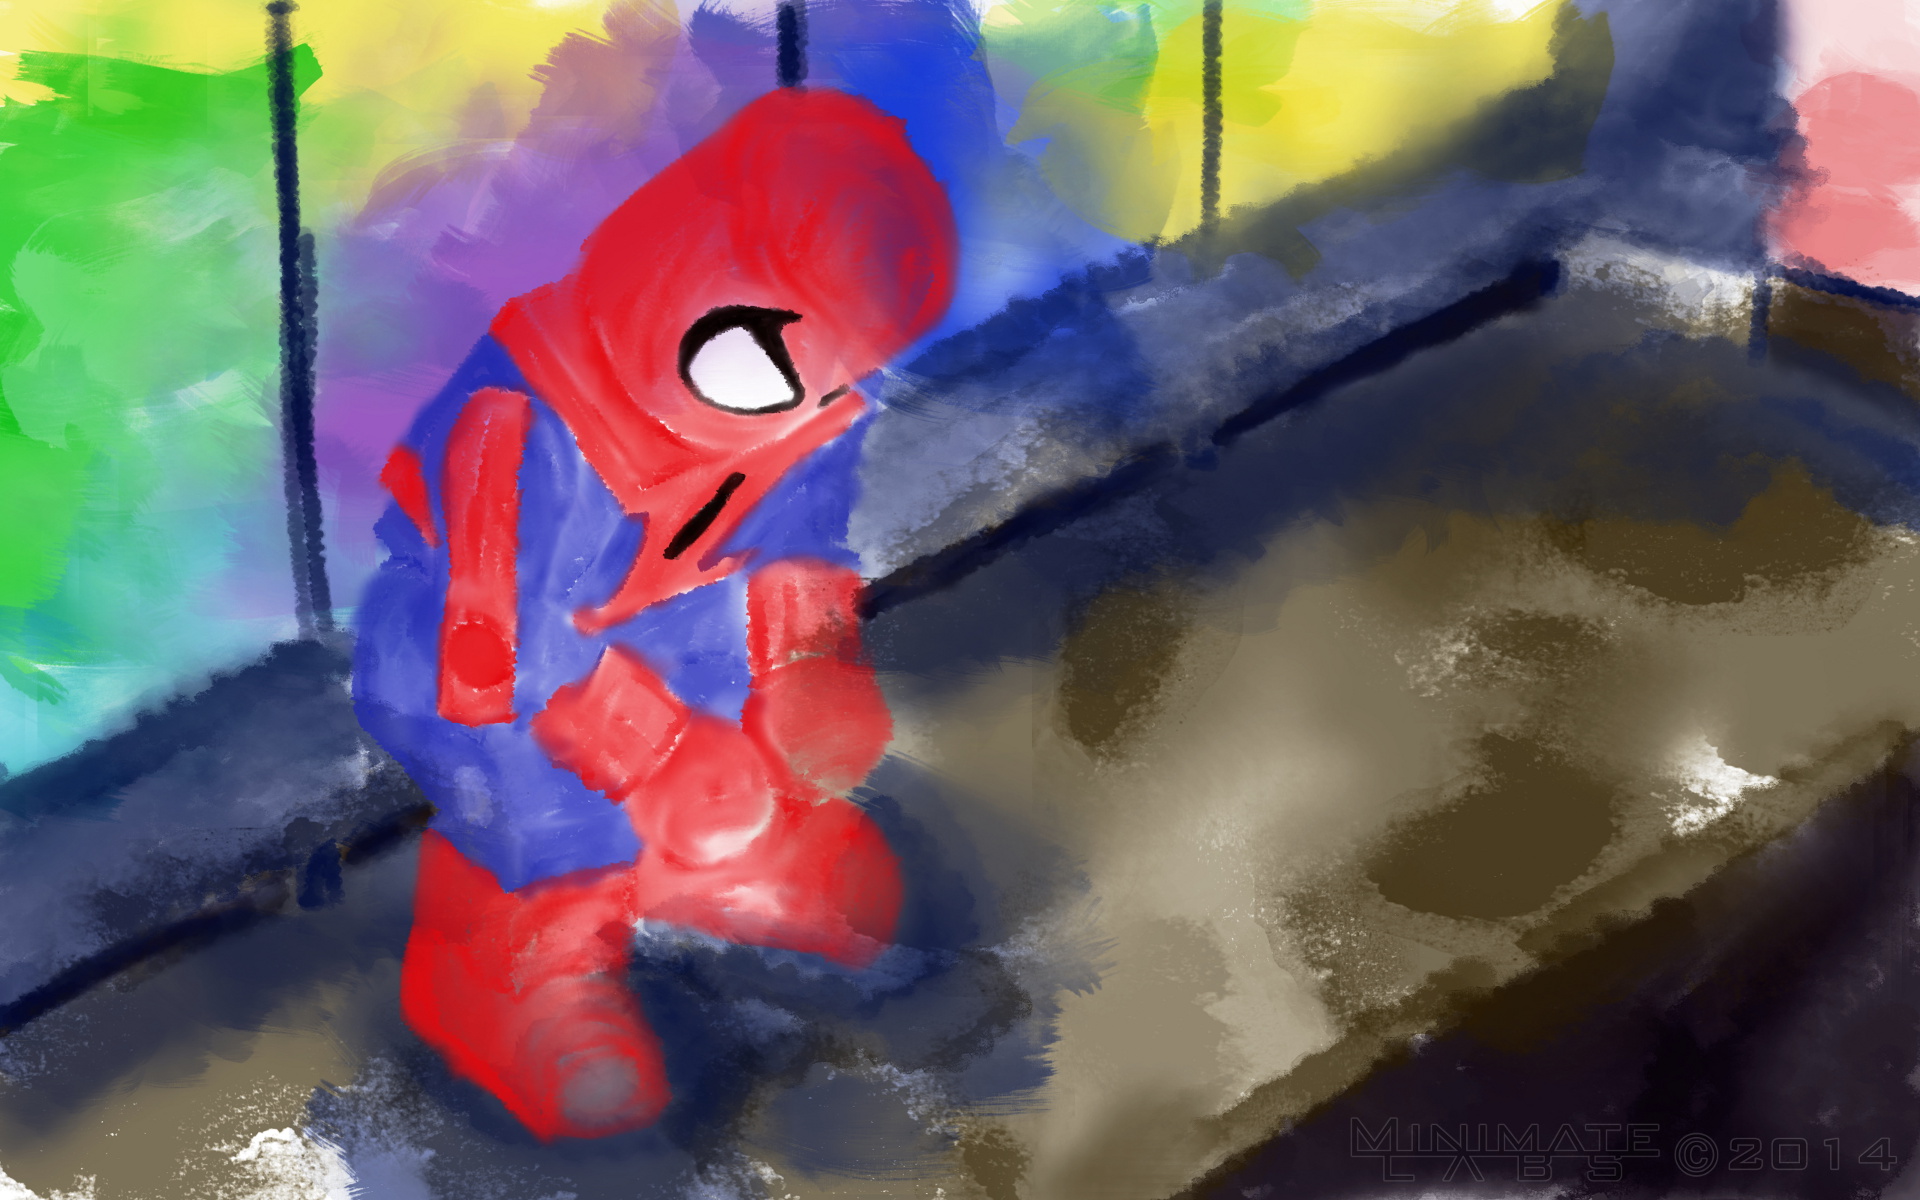
Watercolor SpideySeptember 18, 2014
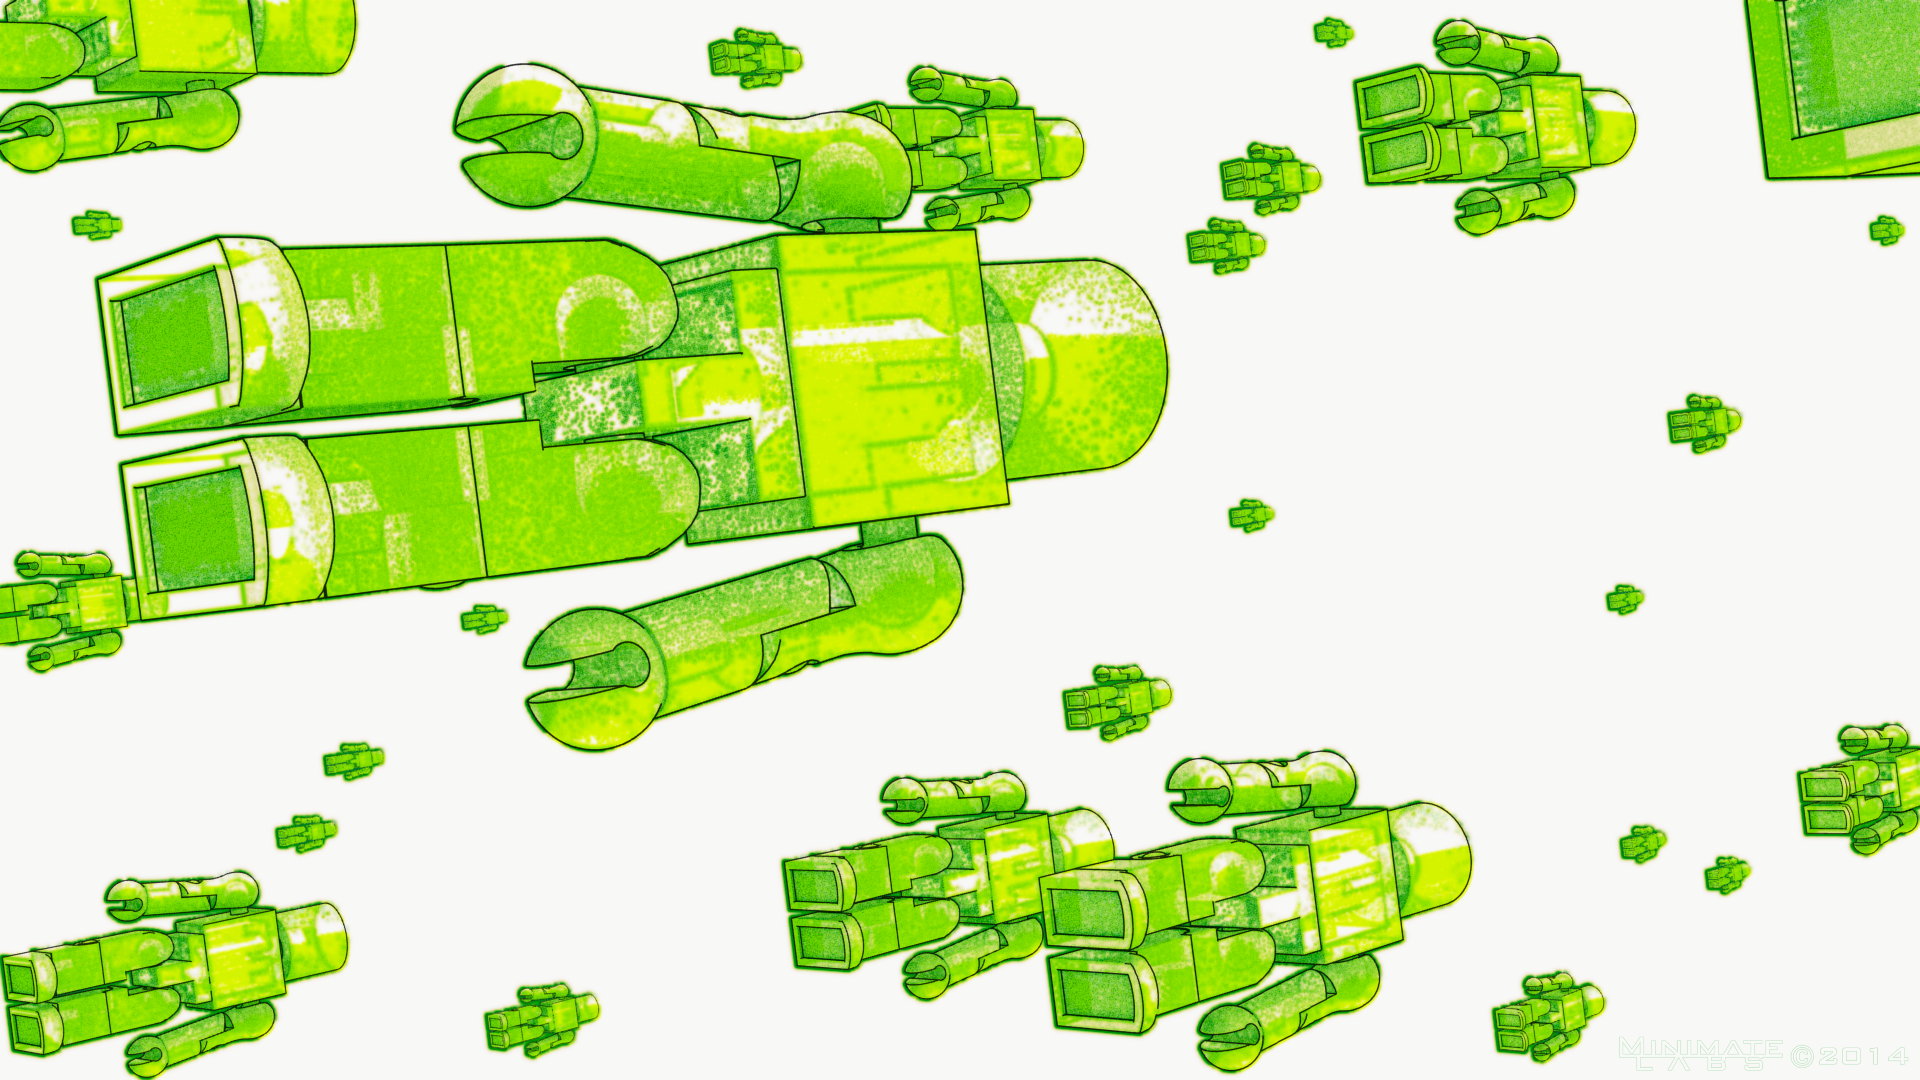
 Bit of Green
September 16, 2014
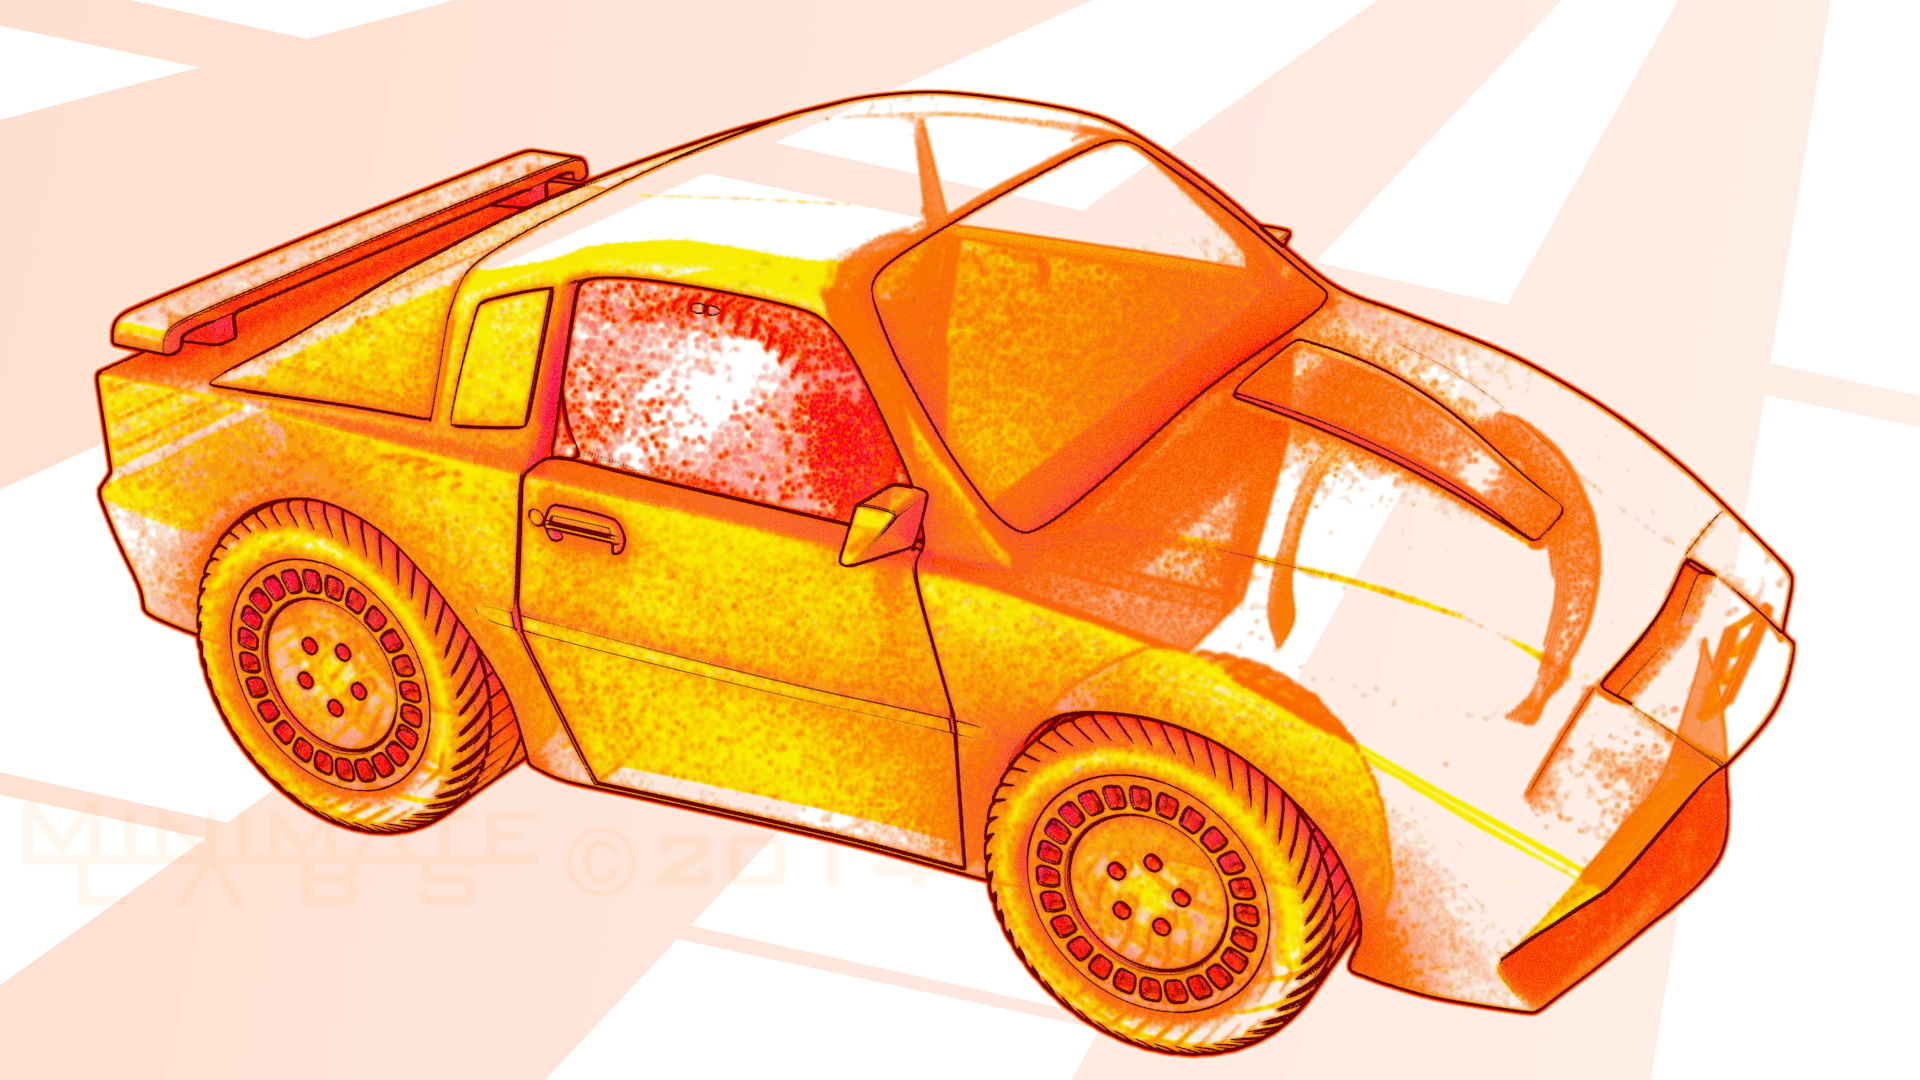
 Kitt Color Experiment
January 30, 2014
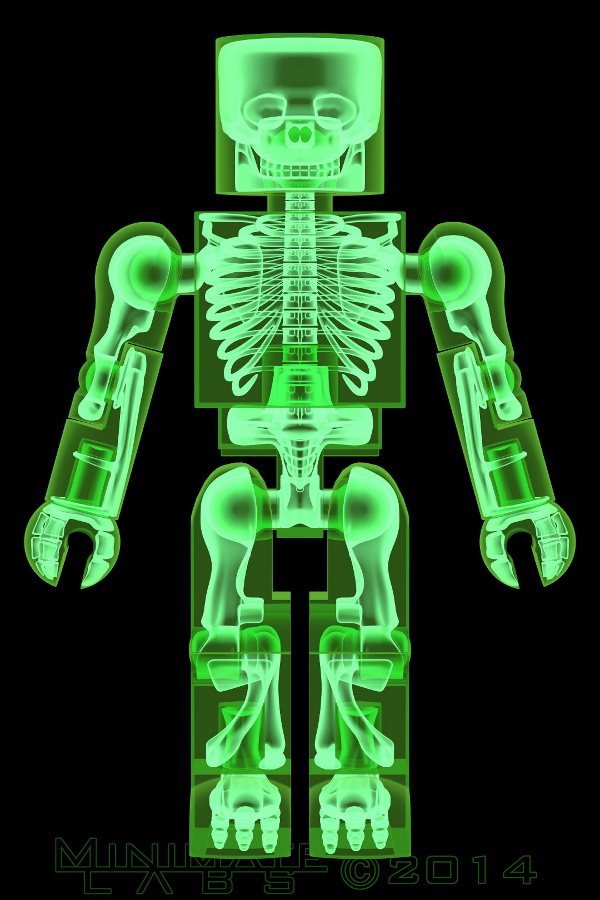
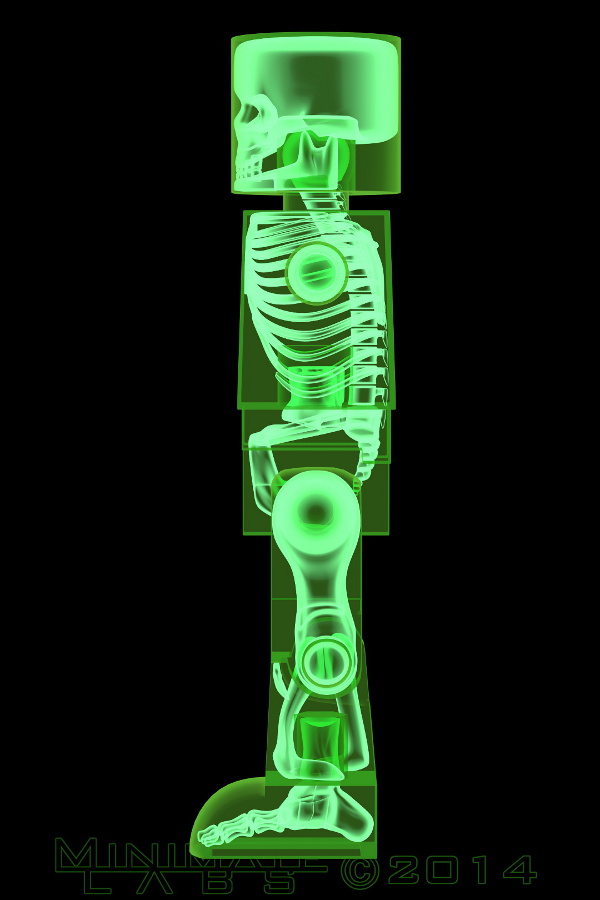
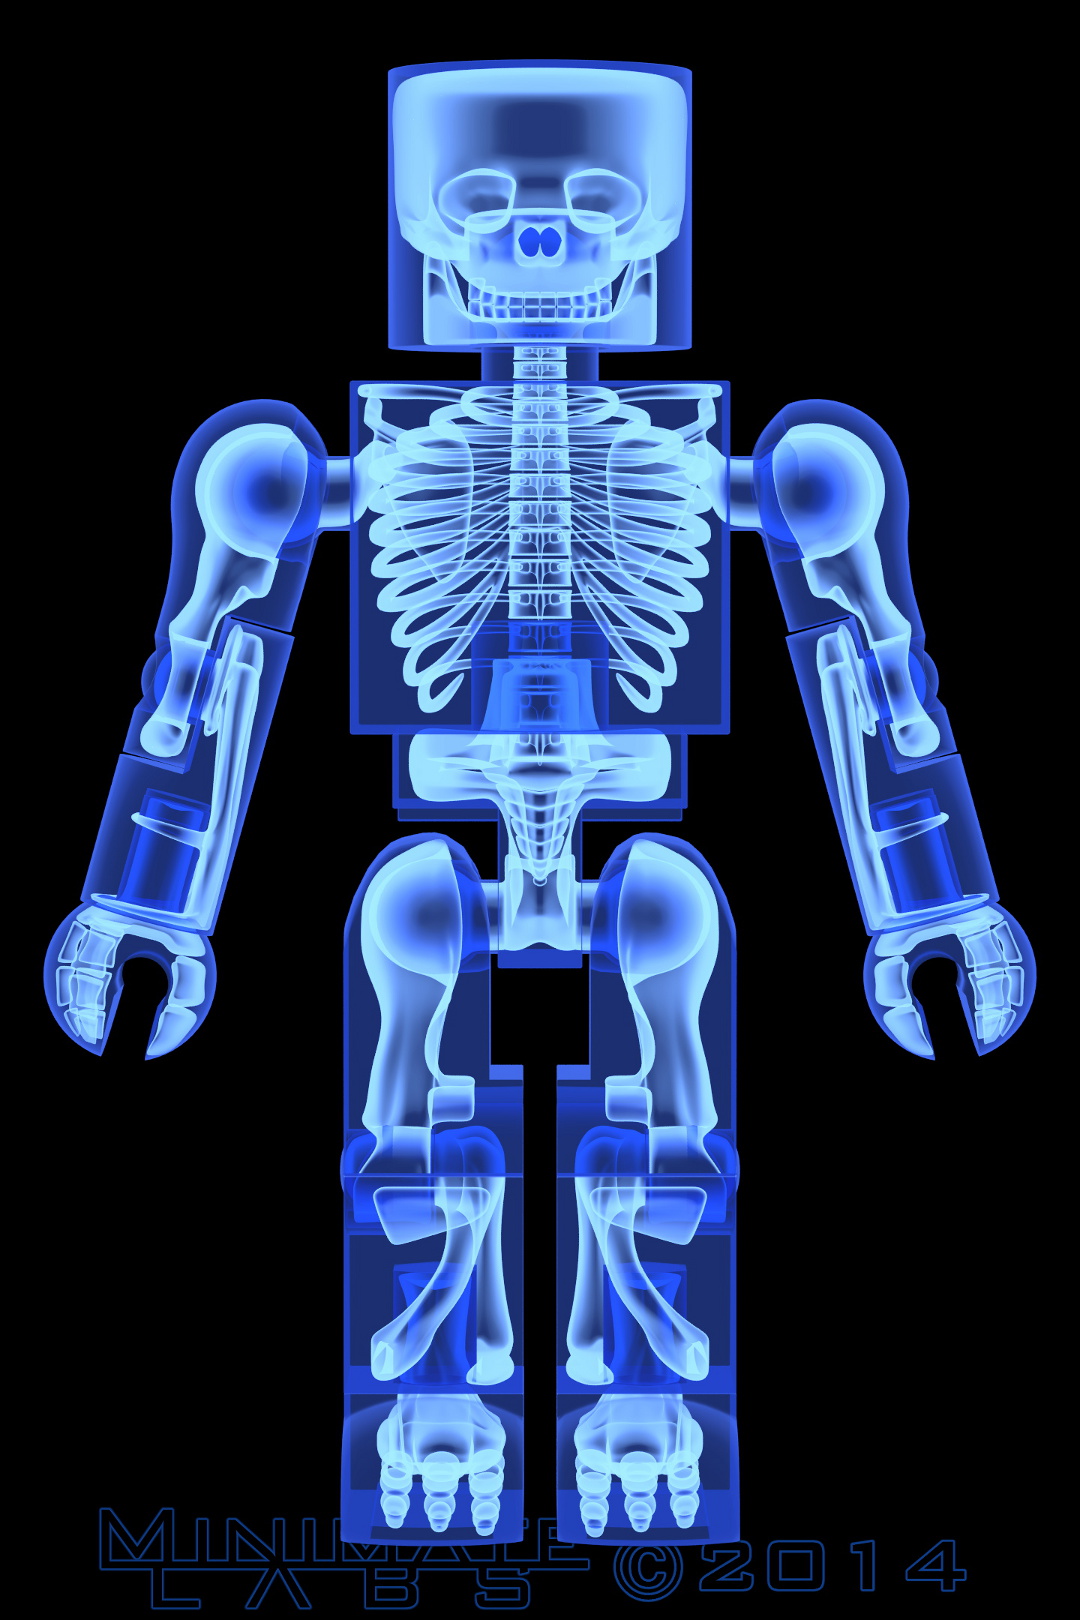
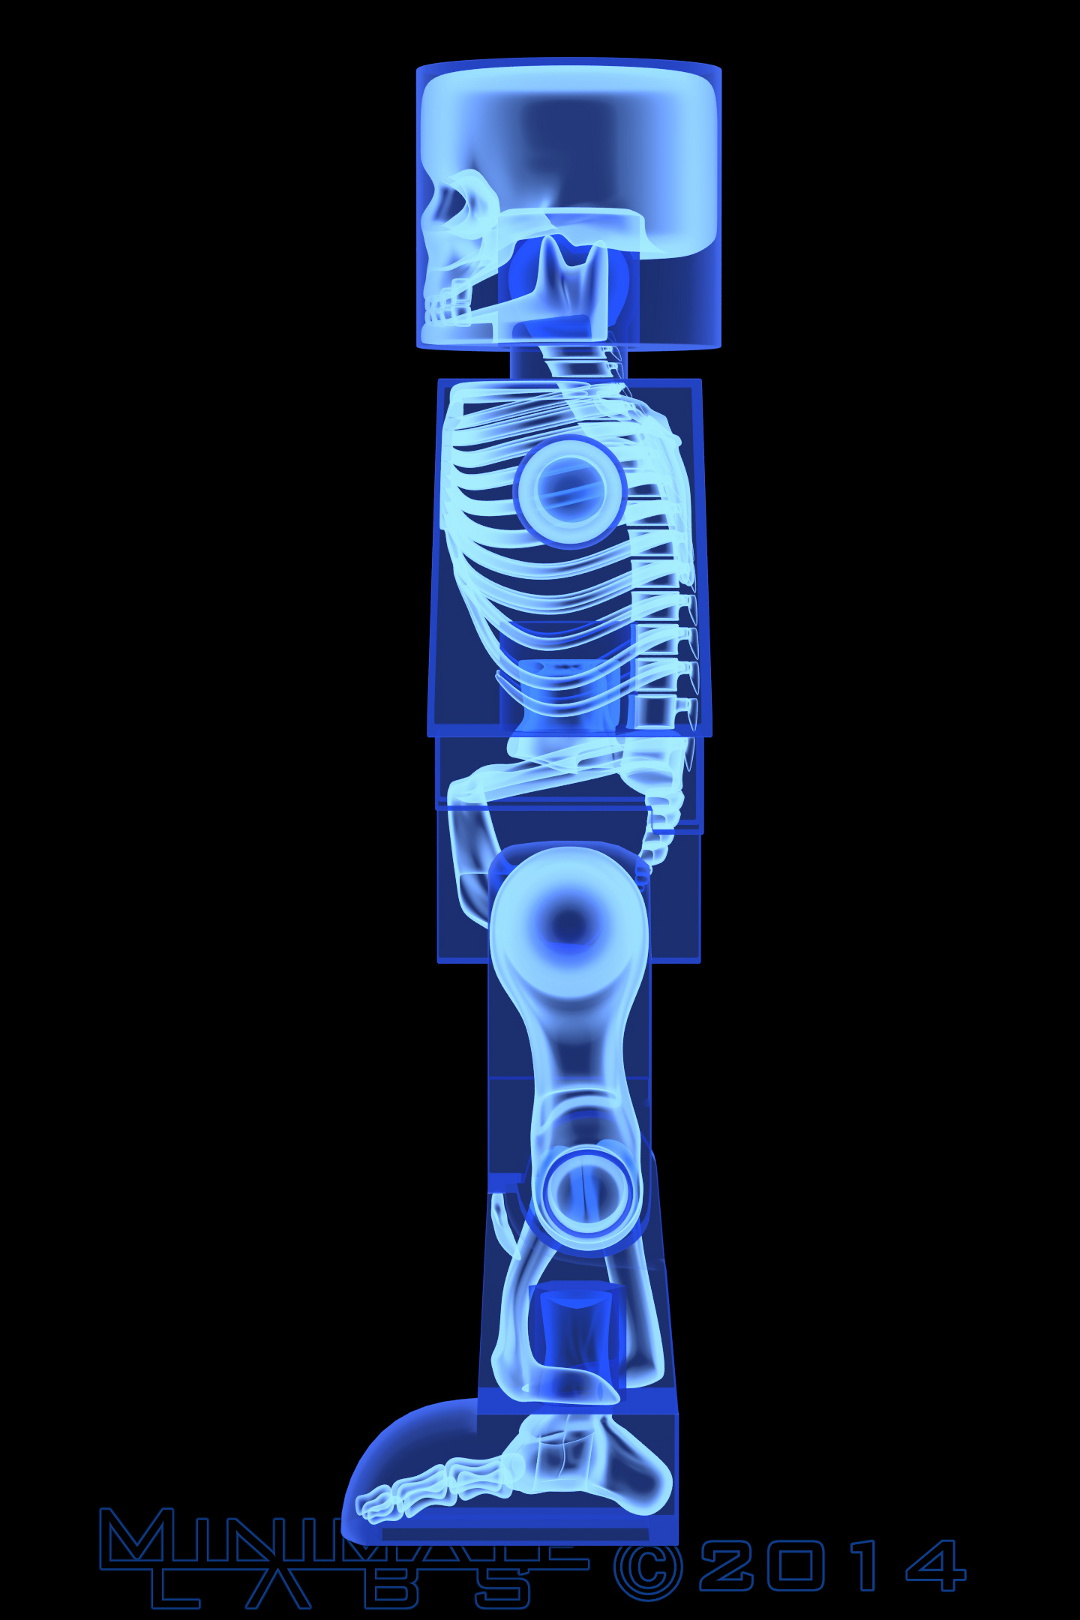
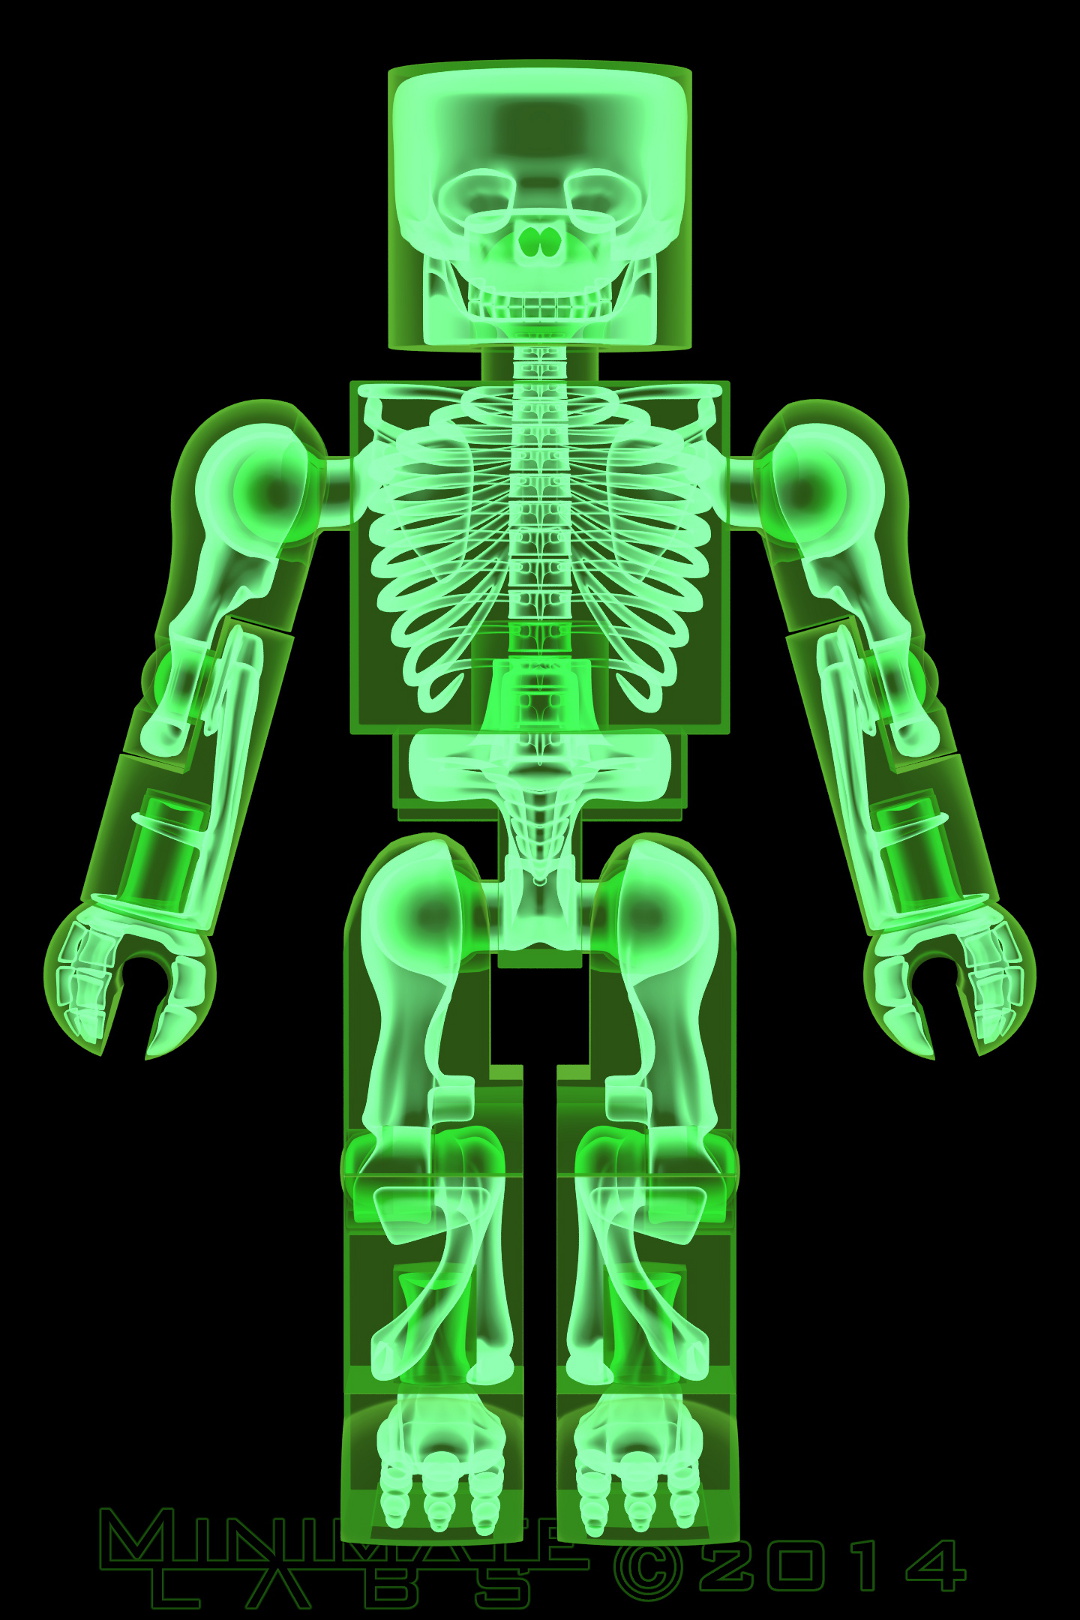
 Skeleton X-Ray
January 16, 2014
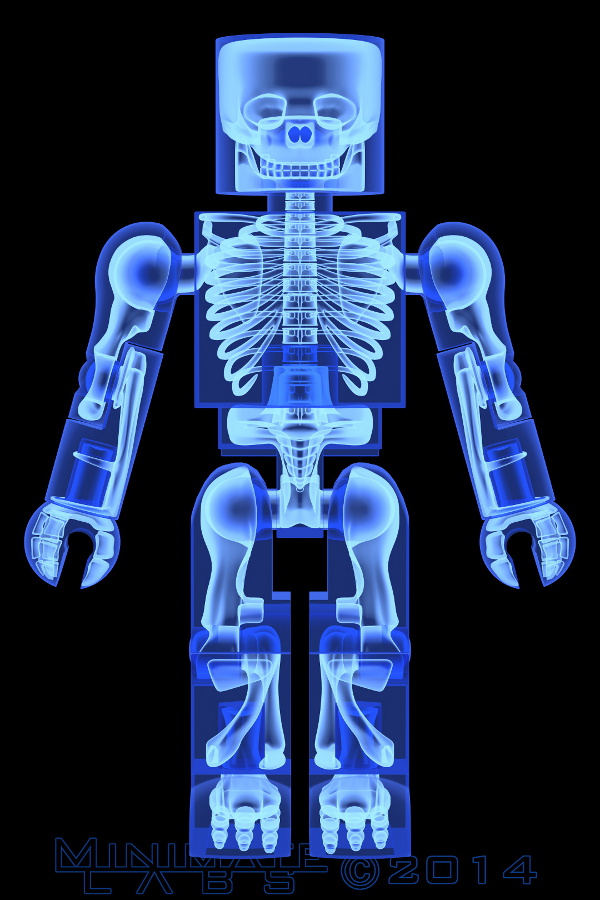

You can click the images to get larger versions. I found a way to render these in Blender that gives a nice edge glow but is more transparent in smooth areas. It uses material nodes and the Cycles render engine which is a lot different from how I've used Blender in the past. I'd like to do more with nodes but I'm not sure that you can use both methods in the same render. We probably won't see Dr. Strange examining X-Rays anytime soon.
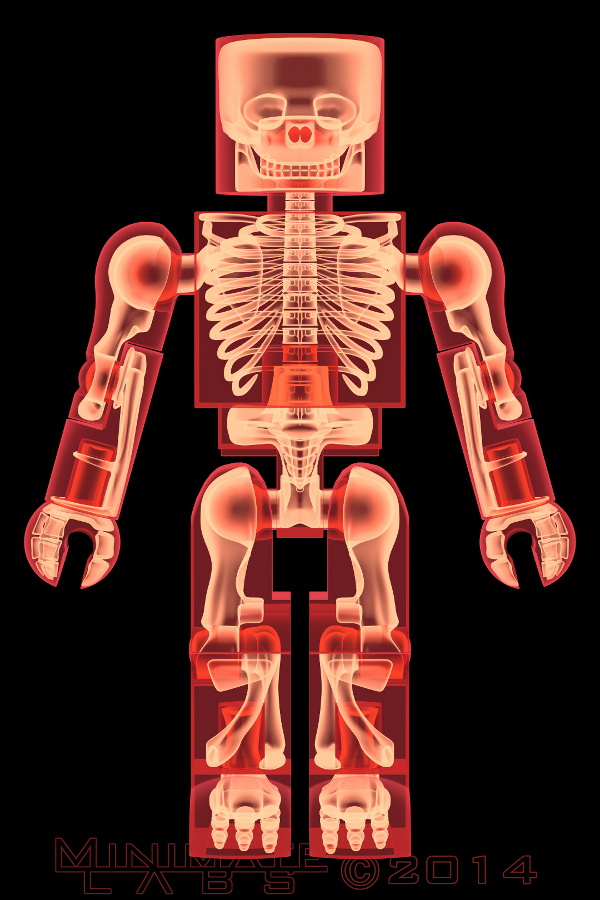
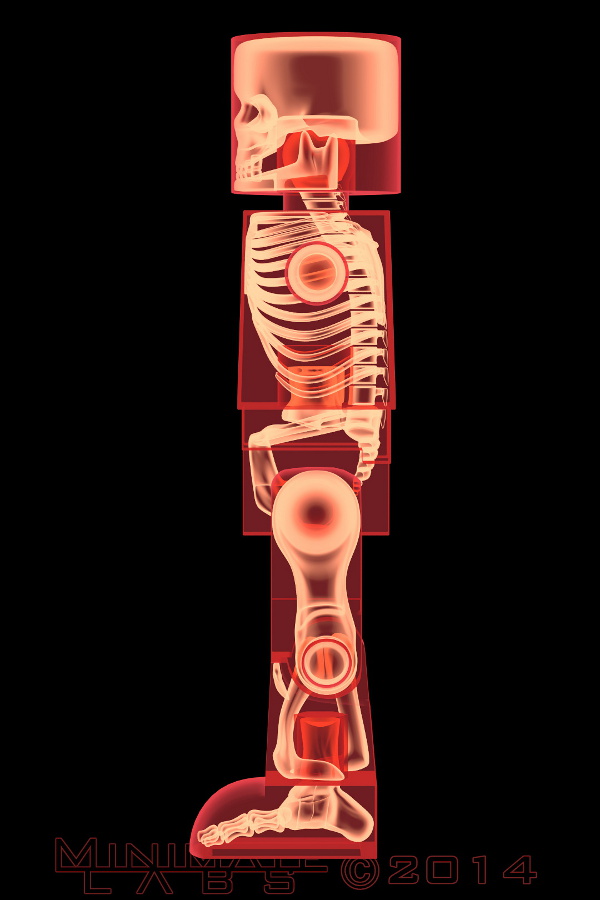
That makes me want to get a couple of these printed as transparencies. They would look great backlit by a light box or something. If I do it, I'll post images here.
Blue: Anterior, Lateral
Red: Anterior, Lateral
Green: Anterior, Lateral
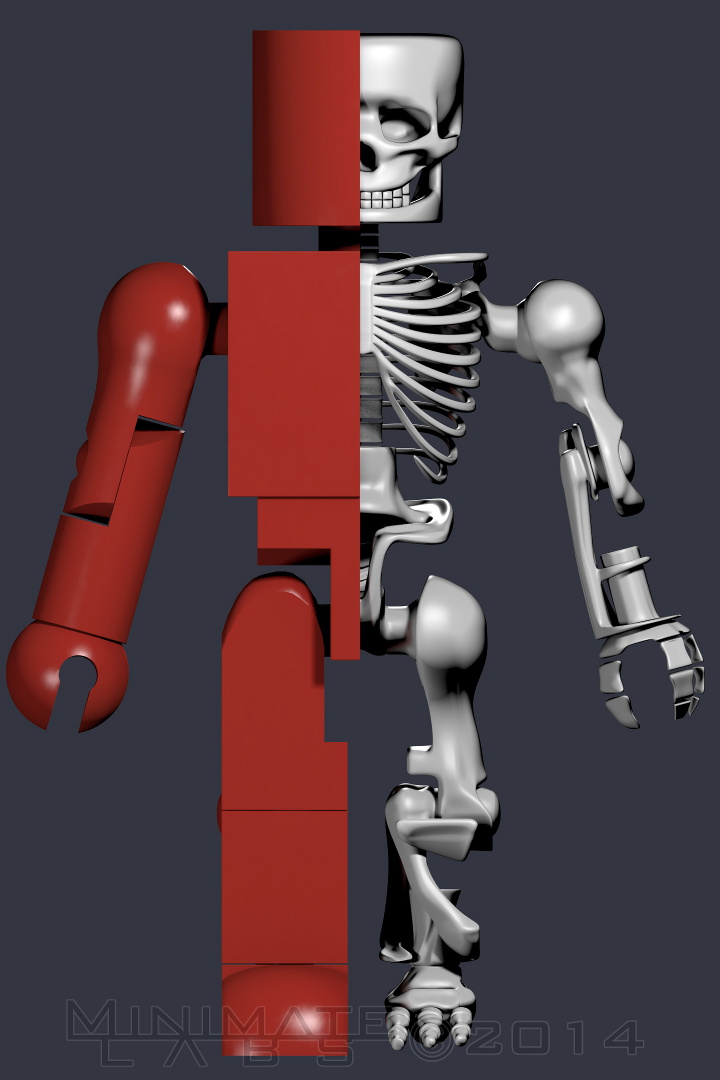
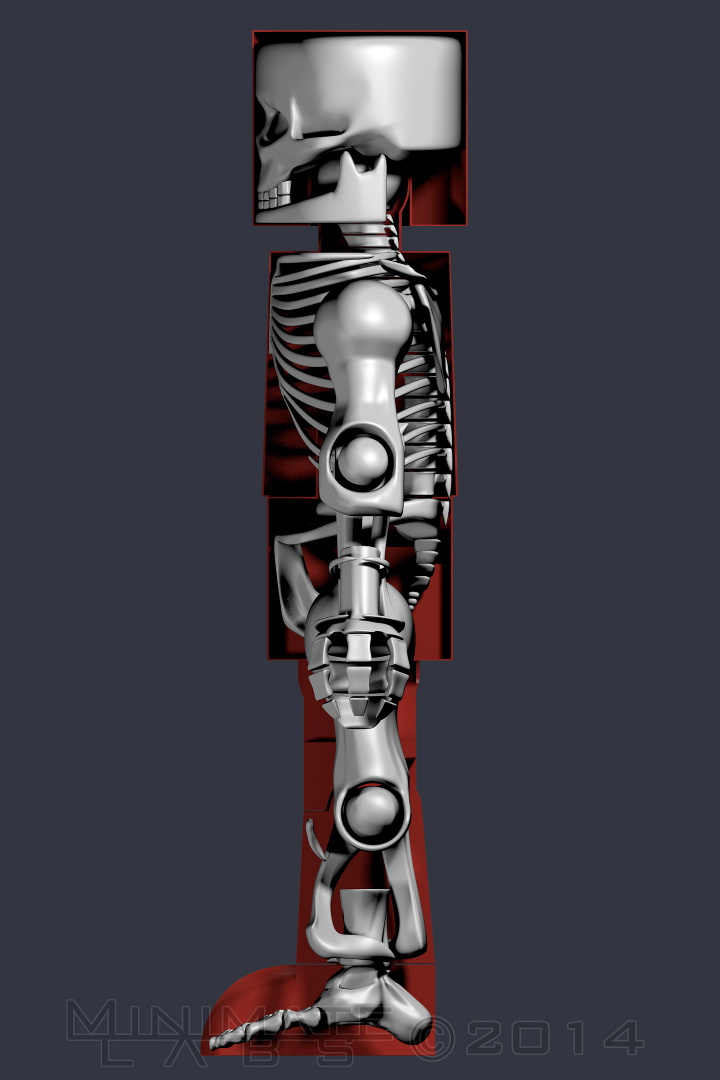
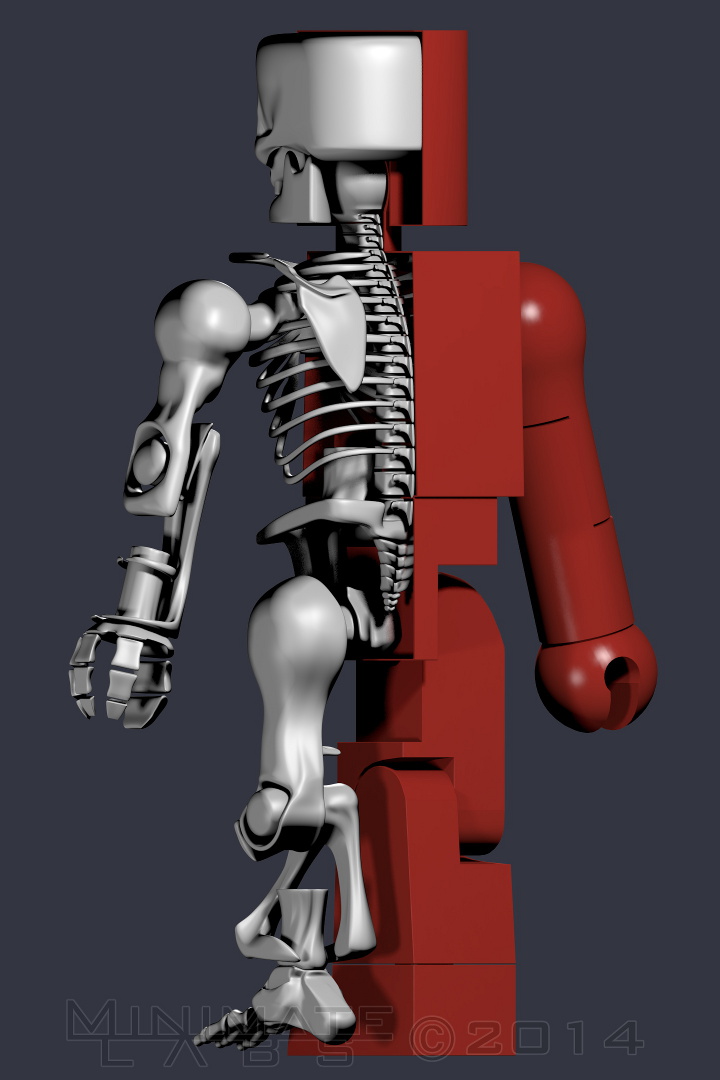
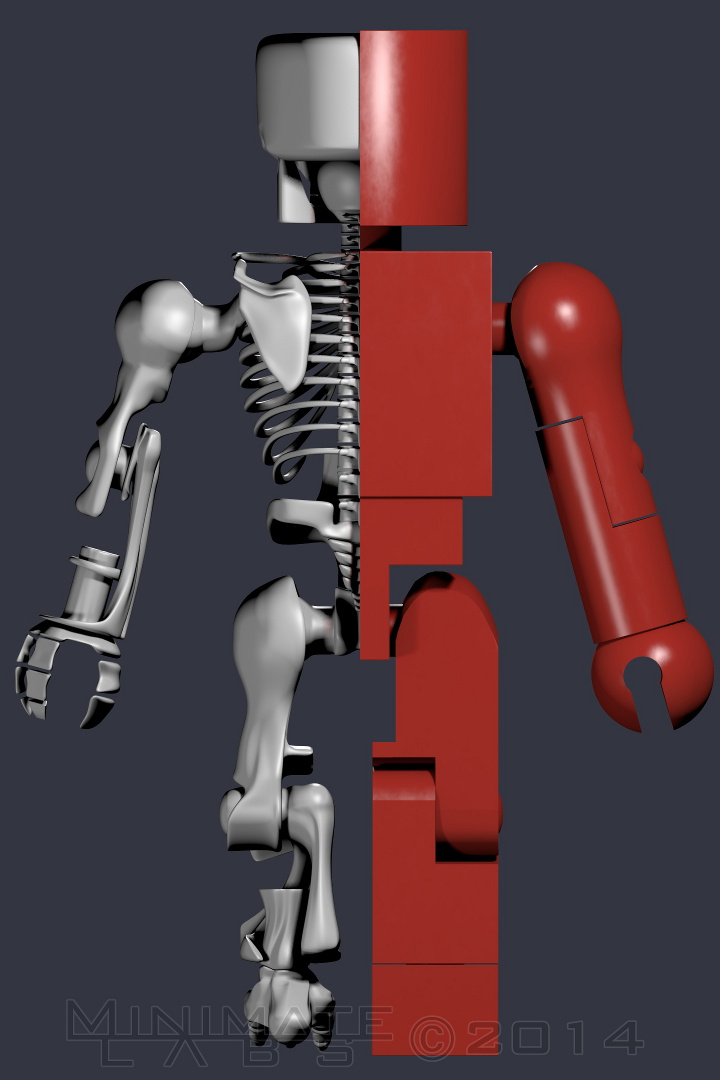
Skeleton Half ViewsJanuary 14, 2014
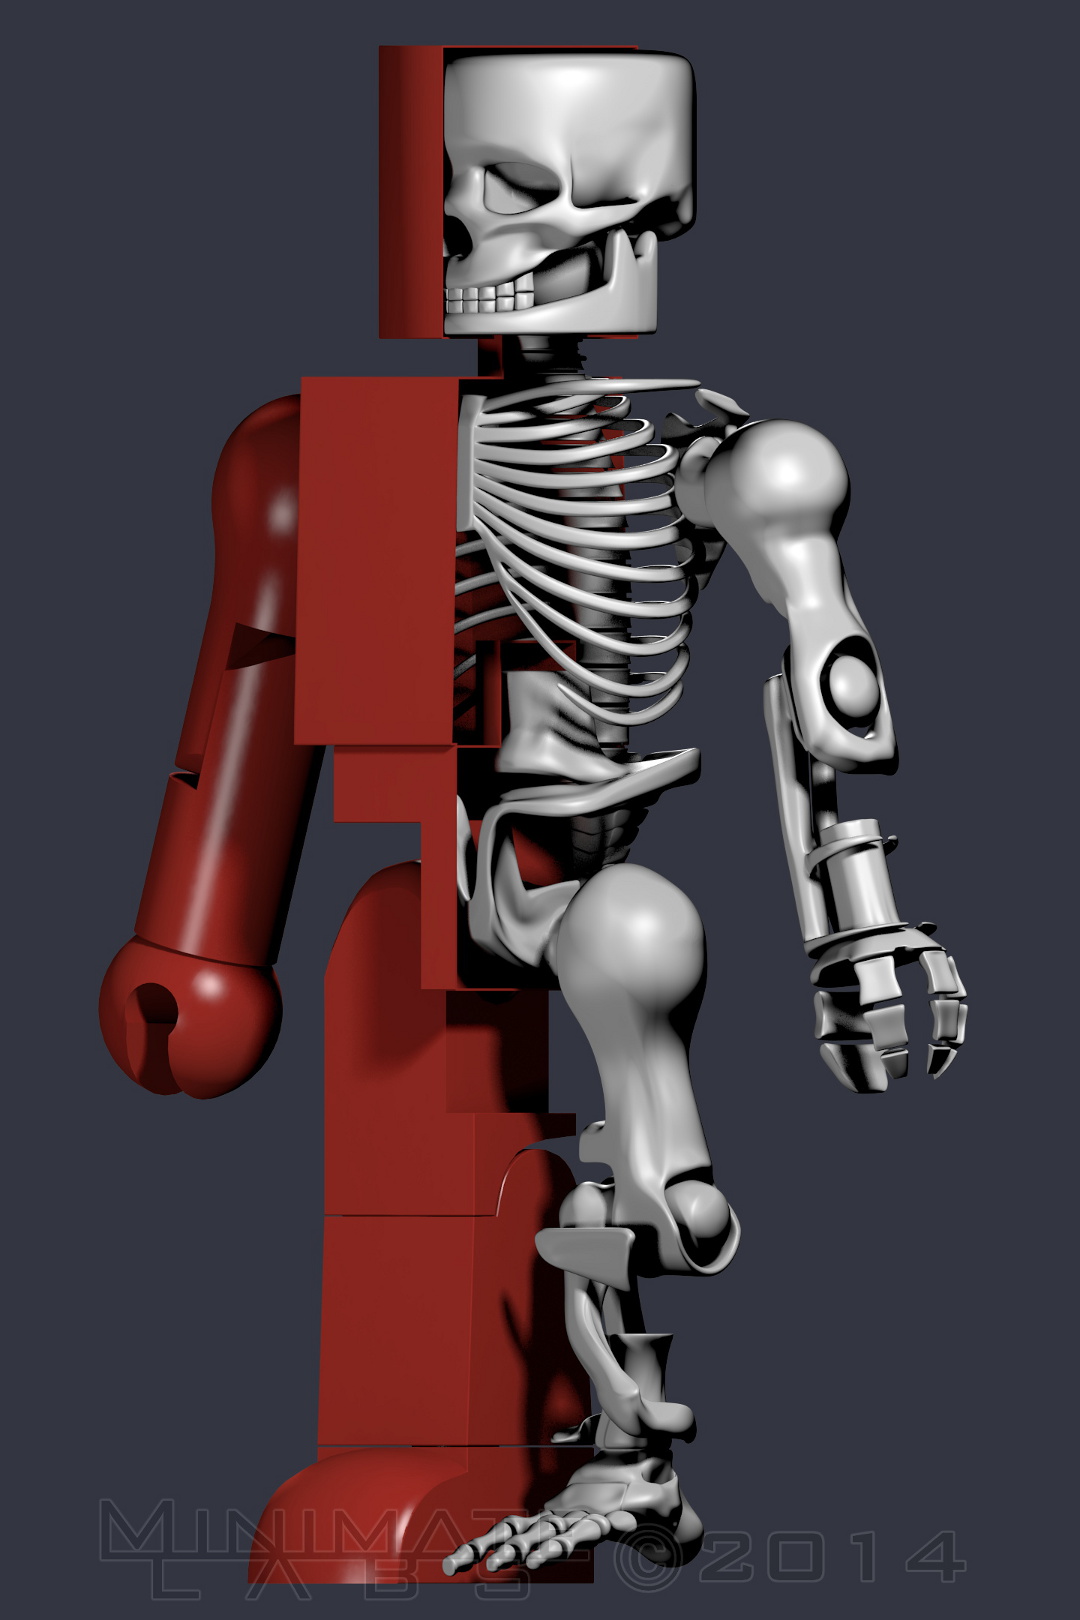
This obviously shows the detail in the model more than the previous renders. I tried to strike a balance between the complexity of a human skeleton and the simplicity of the Minimate form.
Here's a video turnaround just because I can.
Another skeleton post coming on Thurday too.
